Ready to upgrade your home with laminate flooring? Begin by preparing the floor – remove old flooring and ensure it is smooth. Trim door jambs for a precise fit and select a design that complements your style. Use underlayment for added support and cut planks with precision. Lay down the first row in a straight line and continue with accuracy. Remember to use spacers for expansion and secure seams tightly. Finish by cleaning up and allowing the flooring to settle. Want to achieve a flawless result? Follow these steps for a beautifully enhanced space!
Key Takeaways
- Prepare the subfloor by removing existing flooring and ensuring it's clean and level.
- Trim door jambs carefully to allow laminate flooring to slide beneath seamlessly.
- Select a suitable underlayment for cushioning, sound absorption, and protection.
- Install laminate planks systematically, ensuring a secure fit with expansion gaps.
- Finish with trim pieces, clean thoroughly, and allow 24 hours for settling before heavy use.

NAACOO Laminate/Vinyl Flooring Tools, Tapping Block for Vinyl Plank Flooring-Double Sided with Notches,10In Contour Gauge, Pull Bar, 40Pcs Floor Spacers,Rubber Mallet. Universal Floor Installation kit
🏆【NAACOO UNIVERSAL FLOOR KIT】 5 IN 1 Portable KIT–Tapping Block has unique combination edge design for use with…
As an affiliate, we earn on qualifying purchases.
As an affiliate, we earn on qualifying purchases.
Floor Preparation
To ensure a smooth installation process, start by removing existing flooring, baseboards, and molding to prepare the surface for installing laminate flooring.
It's essential to have a clean, level, and smooth base floor for the underlayment and laminate flooring. Address any imperfections by repairing them before proceeding.
For uneven floors, utilize a foam underlayment to provide cushioning and support. When dealing with a wood subfloor, make sure that any protruding nails are removed, and damaged boards are replaced to create a stable foundation for the laminate flooring.
Proper floor preparation is key to a successful and long-lasting installation. By taking the time to prepare the floor correctly, you set the stage for a professional-looking finish and guarantee that your laminate flooring will be durable and beautiful for years to come.

AMERIQUE 800SQFT 4TH Generation Blue 2MM Thick Flooring Underlayment Padding 3-in-1 Heavy Duty Foam with Tape & Vapor Barrier
AMERIQUE 800SQFT 4TH Generation Blue 2MM Thick Flooring;
As an affiliate, we earn on qualifying purchases.
As an affiliate, we earn on qualifying purchases.
Door Jamb Trimming
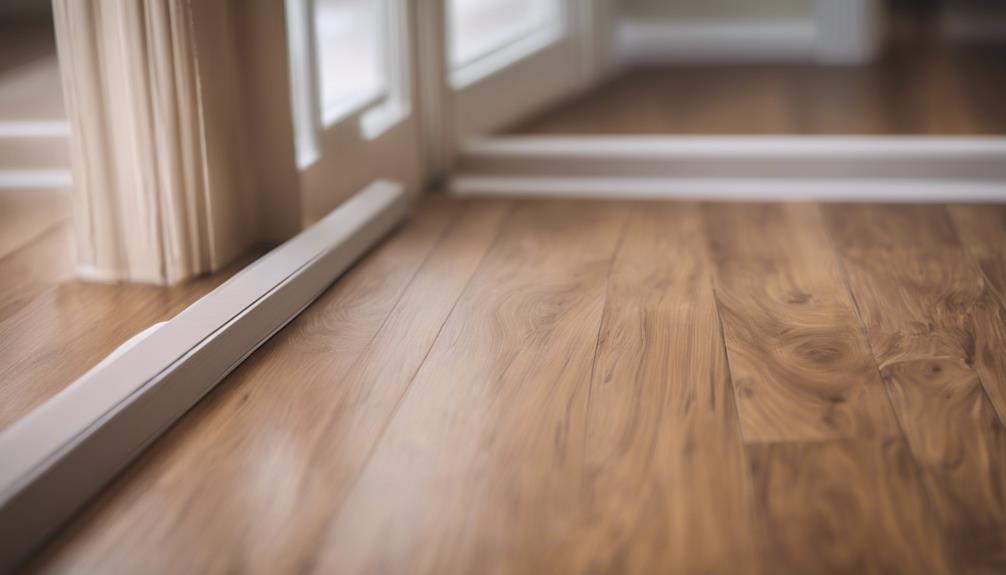
Trimming door jambs for laminate flooring installation typically involves using a handsaw or jamb saw to cut the bottom of the jamb. Here are some essential steps to guarantee a precise and clean trim for your door jambs:
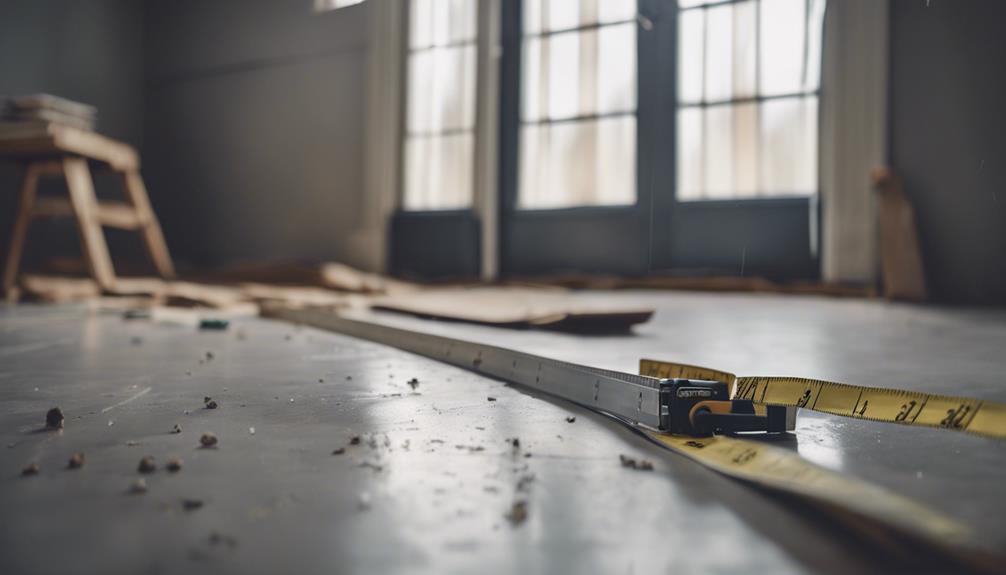
- Measure Properly: Before cutting the door jamb, place a piece of the laminate flooring against it to determine the correct height that needs to be trimmed.
- Choose the Right Cutting Tool: Use a cutting tool that's suitable for the material of the door jamb. Different types of door jambs may require different tools for an accurate cut.
- Careful Trimming: Trim the door jambs carefully to allow the laminate flooring to fit snugly underneath without any obstructions.
A precise cut ensures that the flooring can slide seamlessly beneath the jamb, contributing to a polished and professional-looking laminate flooring installation.

JORGENSEN 10" Dovetail Reversible Saw, Professional Cutting Jamb Saw, 13TPI Double Ground Teeth Flush Cut Saw Spring Loaded Design Cranked Soft Handle, Shorten Door Frame, Tile Installation and Prep
Reversible Blade: Our 10" dovetail jamb saw features a spring-loaded design that enables you to reverse the blade…
As an affiliate, we earn on qualifying purchases.
As an affiliate, we earn on qualifying purchases.
Design Planning
When planning your laminate flooring design, keep in mind the room's dimensions and layout for best results. Choose a pattern that suits your style, like herringbone or straight lay, and take into account the direction of natural light to enhance the room's atmosphere.
Additionally, select colors and textures that harmonize with your existing decor to achieve a cohesive look.
Flooring Design Considerations
Consider the dimensions and shape of your room when planning the arrangement of your laminate flooring design. To enhance the visual appeal and functionality of your space, here are some key flooring design considerations:
- Room Layout: Select an appropriate pattern like straight, diagonal, or herringbone to elevate your home's aesthetic. The pattern can act as a focal point and enhance visual interest in the room.
- Light and Traffic: Take into account the orientation of natural light and movement flow. Aligning the laminate flooring with these aspects can establish a cohesive and expansive ambiance in the room.
- Color and Texture: Choose a color and texture that harmonize with the current decor. This will guarantee a unified look throughout your space, connecting all design elements seamlessly.
Layout Planning Essentials
To guarantee a seamless and visually appealing laminate flooring installation, begin by carefully analyzing the dimensions and layout of your room. Take into account the room's dimensions, shape, and any architectural features that may influence the layout. Many people overlook this step, but it can make a big difference in the final look of your flooring.
Consider opting for design patterns like straight lay, diagonal, or herringbone to add interest and enhance the room's aesthetic appeal. Using a chalk line, map out the starting point to make sure a straight installation from the beginning.
Additionally, think about the direction of natural light and furniture placement to create a balanced and visually pleasing result. Remember to leave expansion gaps along walls and connections to accommodate changes in temperature and humidity.

Upgraded 40 Pack Flooring Spacers Laminate Flooring Installation Kit with 1/4” & 1/2” Gap, Wood Floor Install Tool for Laminate, Vinyl Plank, Hardwood, LVT, Bamboo and Floating Floor Installation
【UPGRADED DESIGN】 Providing a 1/4 inch & 1/2 inch gap of the floor from the wall. Only one…
As an affiliate, we earn on qualifying purchases.
As an affiliate, we earn on qualifying purchases.
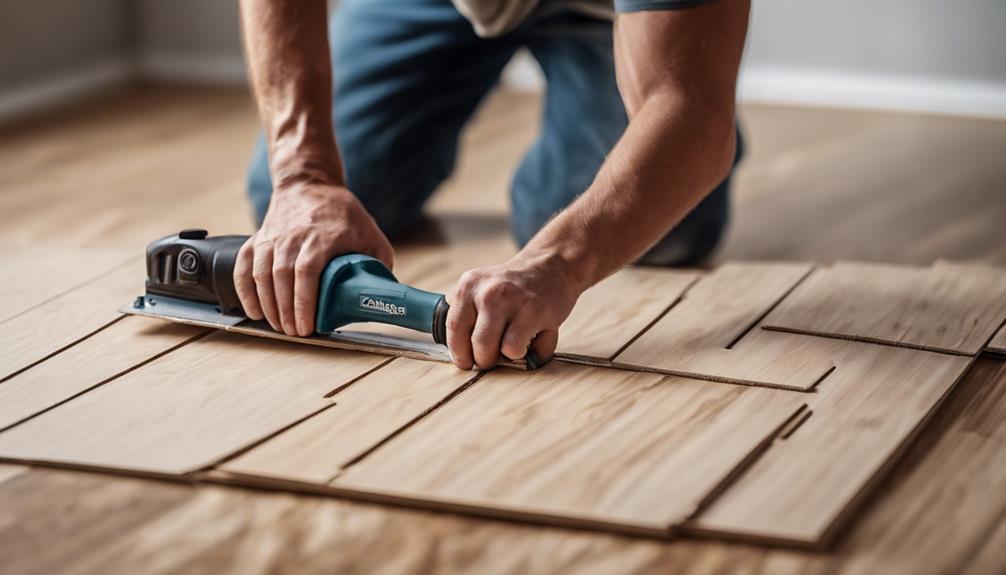
Laminate Cutting
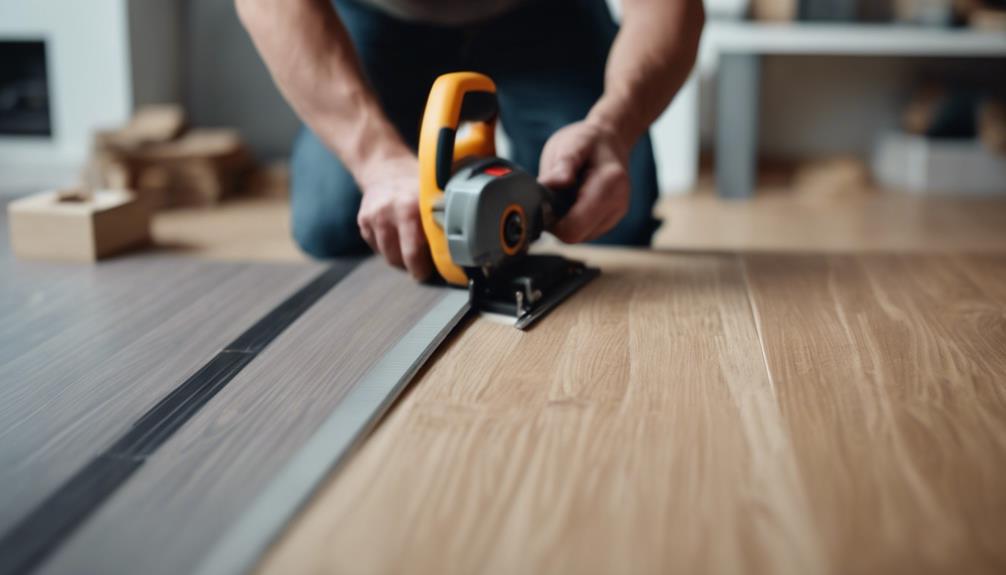
For cutting laminate flooring, utilize a laminate cutter, circular saw, or jigsaw to make sure precise cuts.
When cutting laminate planks, follow these steps for successful installation:
- Measure and Mark: Before making any cuts, accurately measure and mark the laminate plank to confirm the correct dimensions. Precision in measurement is crucial to achieving a seamless flooring layout.
- Cutting Technique: Always cut laminate planks face up to prevent chipping on the top surface. This technique helps maintain a clean and smooth edge on the visible side of the flooring, giving your project a professional finish.
- Safety First: Remember to wear safety goggles and gloves when cutting laminate flooring. Safety gear will protect your eyes and hands from any potential hazards during the cutting process. Prioritize safety to prevent accidents and guarantee a smooth installation experience.
Underlayment Installation

When you move on to installing the underlayment for your laminate flooring, remember that it serves as an important layer providing cushioning and sound absorption. The underlayment also helps to smooth out minor imperfections in the subfloor, guaranteeing a more even surface for your laminate planks.
Additionally, a moisture barrier underlayment is vital as it protects against potential moisture damage, prolonging the life of your flooring. It's worth noting that some underlayments come with built-in vapor barriers, offering an extra layer of protection against moisture.
Before installation, make sure that the underlayment material you choose is suitable for your specific flooring type and the conditions of the room. Properly installing the underlayment is a key step in the laminate flooring installation process, as it provides the necessary foundation for a successful and long-lasting floor.
Make sure to follow the manufacturer's instructions carefully to guarantee a smooth and effective installation process.
First Row Installation
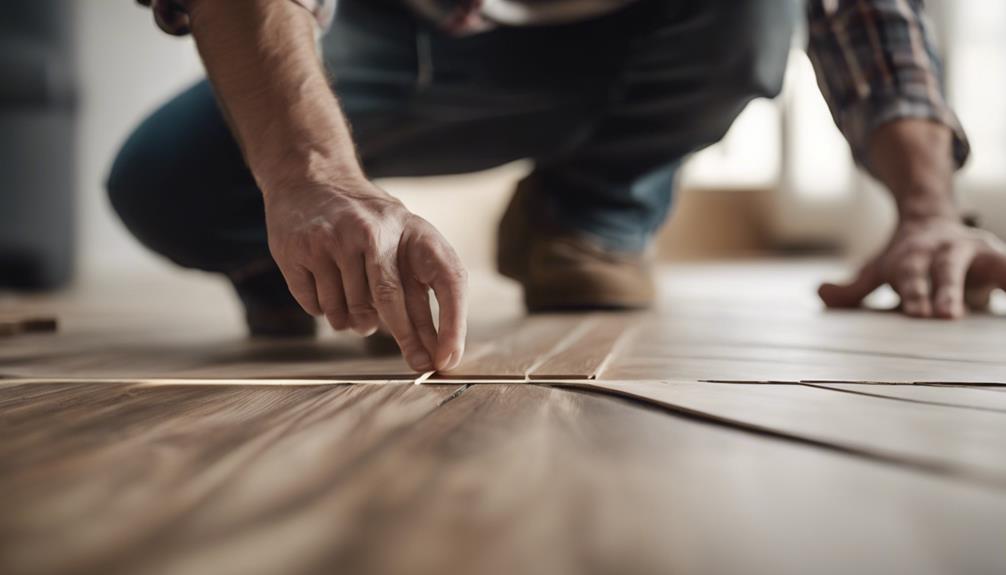
Begin the laminate flooring installation process by positioning the first plank in the left corner, making sure the tongue faces the wall.
Follow these steps for a successful first row installation:
- Use Spacers: Place spacers along the wall to maintain a 1/4-inch expansion gap. This gap allows the flooring to expand and contract with temperature changes.
- Angle and Tap: Align the second plank at a 20-degree angle with the first plank. Gently tap the joint using a tapping block and hammer to secure the planks together. This guarantees a tight fit without causing damage.
- Continue Snugly: Proceed by adding more planks to complete the first row. Confirm each plank is snugly connected to the previous one. Use the tapping block and hammer as needed to secure the joints firmly in place.
Staggering Planks

To achieve a stable and visually appealing layout for your laminate flooring installation, it's crucial to stagger the planks appropriately. Staggering planks involves offsetting the end joints of adjacent rows to create a more stable surface and prevent repetitive patterns.
The suggested stagger distance usually falls between 6-12 inches to avoid weak spots and guarantee the floor's integrity. By staggering the planks, you distribute weight and stress evenly across the floor, reducing the chances of buckling or gaps forming over time.
Installation Tips
For best results in installing your home decor laminate flooring, consider implementing these helpful installation tips.
- Use spacers: Be sure to utilize spacers along the edges of the flooring to maintain proper expansion gaps. This will prevent buckling and guarantee the laminate has room to expand and contract with changes in temperature and humidity.
- Secure with clamps: When cutting laminate planks, employ clamps to hold the pieces securely in place. This will assist you in achieving accurate cuts and a clean finish, avoiding any unnecessary chipping or damage to the planks.
- Start in a corner and work systematically: Initiate the installation in a corner of the room and work from left to right. This approach will help you maintain a consistent layout and secure a smooth installation process, preventing any potential errors or misalignment.
Frequently Asked Questions
How Should Laminate Flooring Be Installed for Beginners?
To install laminate flooring as a beginner, prepare the subfloor well. Acclimate planks for 48 hours. Use underlayment for cushioning. Start from the left corner with spacers for gaps. Follow manufacturer's instructions precisely for a successful installation.
How to Lay Laminate Step by Step?
To lay laminate step by step, start from the left corner, use spacers for gaps, click and lock the planks together. Prepare the subfloor, acclimate planks, lay underlayment, follow manufacturer's instructions for seamless installation. Enjoy your new floor!
How to Start the First Row of Laminate Flooring?
To start the first row of laminate flooring, place it in a left corner, use spacers for an expansion gap, align the tongue side towards the wall, insert the tongue into the next plank groove, then tap to secure tightly.
What Corner of a Room Do You Start Laminate Flooring?
When starting laminate flooring, begin in the bottom left corner for a balanced layout. Progressing from left to right guarantees a seamless installation. Lock planks securely and use spacers for proper expansion. Starting in the right spot sets you up for success.
Conclusion
Now that your laminate flooring is installed, take a step back and admire your handiwork. Just like piecing together a puzzle, each plank fits perfectly to create a beautiful and cohesive look for your home.
Remember, every step was worth it for the end result – a stunning and durable flooring option that will last for years to come.
Enjoy your newly transformed space!