
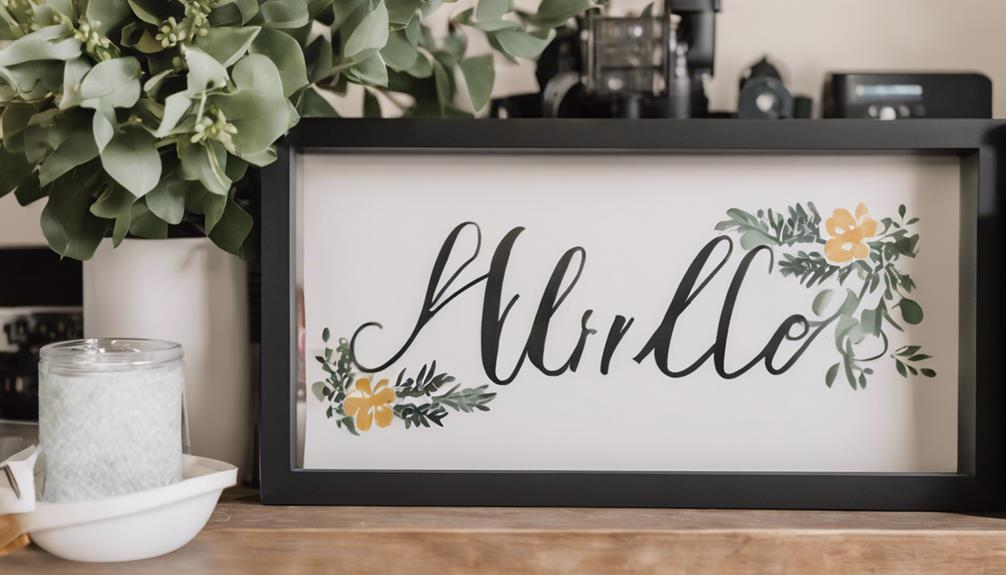
Revamp your living space by crafting personalized home decor signs using your Cricut machine. Get your hands on wood rounds, adhesive vinyl, and your trusty Cricut machine to get started. Utilize Design Space to come up with one-of-a-kind designs, playing around with various fonts and colors. Begin by applying a base coat to the wood rounds, adjusting the vinyl cut settings, and then transferring your design onto them. Hang your finished sign securely using a holder, leather or rope loop, and a wooden dowel for added support. Explore the world of acrylic wall planners, mugs, and gallery walls for more decor projects. Let your creativity run wild with endless possibilities to add a personalized touch to your space. Elevate your home decor with the magical touch of Cricut and infuse a unique charm into your living space. For a more rustic vibe, consider using reclaimed or distressed wood rounds for your custom home decor signs. The natural textures and imperfections of the wood will bring character and warmth to your design. Incorporating rustic wood signs into your home decor will help create a cozy and inviting atmosphere, perfect for adding charm to any room. If you’re feeling inspired, create personalized home decor items for yourself or as thoughtful gifts for your loved ones. Experiment with different finishes and techniques like distressing or hand-painting to make each sign truly stand out. Whether you’re aiming for a cozy farmhouse look or a modern minimalist aesthetic, the options are truly limitless when you create personalized home decor with your Cricut.
Key Takeaways
- Essential materials: Cricut machine, wood round, permanent vinyl.
- Utilize Design Space for unique sign designs.
- Step-by-step process: cut wood, apply vinyl, transfer design.
- Install sign holder securely, consider weight for hanging.
- Explore more Cricut home decor projects for inspiration.
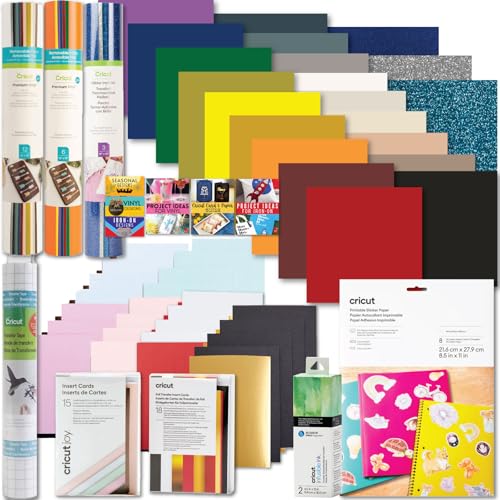
Cricut Deluxe All-in-One Materials and Accessories Bundle – 70+ Piece Beginner Sampler Material Kit for Cricut Explore Air and Maker Machines- Vinyl, HTV, Card Making Packs, and Sticker Paper
Beginner Friendly: This deluxe project bundle uses quality Cricut materials designed for better cutting and project creation! This…
As an affiliate, we earn on qualifying purchases.
As an affiliate, we earn on qualifying purchases.
Required Materials for Sign Making
To create home decor signs using your Cricut machine, you'll need essential materials such as a cutting machine, wood round, wooden stake, permanent adhesive vinyl, and StyleTech opal vinyl.
The Cricut machine, a key tool in this process, assists in precise cutting of vinyl materials.
Permanent adhesive vinyl is vital for ensuring that your design sticks securely to the wood round. This type of vinyl is durable and long-lasting, perfect for creating customized signs that will endure over time.
Additionally, StyleTech opal vinyl can add a touch of shimmer and elegance to your design, making it truly unique and eye-catching.

Cricut Value Permanent Vinyl, Rainbow Sampler 12in x 12in (25 ct)
INCLUDES – 25 sheets of permanent vinyl (19 colors) 12 in x 12 in (30.5 cm x 30.5…
As an affiliate, we earn on qualifying purchases.
As an affiliate, we earn on qualifying purchases.
Designing Your Custom Sign
Consider utilizing a variety of fonts and design tools available in Design Space to create a unique custom sign with your Cricut machine. Design Space offers a wide range of fonts like Cochin, Bodoni, Annlie, Happy, Kates ABCs, and Parisian Std Regular, allowing you to experiment and create distinctive designs.
You can also upload your own logo or design as an SVG file to further personalize your sign. To add visual appeal, try using the curve tool in Design Space to create rounded text designs.
When customizing your sign, get creative with different colors, sizes, and styles to match your home decor aesthetic. This is where you can truly make your sign one-of-a-kind. Additionally, remember to use the weeding tool to remove excess vinyl and ensure clean lines and precise details in your design.

Unfinished Natural with Tree Bark Wood Slices 10 Pcs 4.2-4.7 inch Disc Coasters Wood Coaster Pieces Craft Wood kit Circles Crafts Christmas Ornaments DIY Crafts with Bark for Crafts Rustic Wedding
Diameter: approx 4.2-4.7inch(11-12cm);Thickness: approx 0.4inch(1cm)
As an affiliate, we earn on qualifying purchases.
As an affiliate, we earn on qualifying purchases.
Step-by-Step Sign Creation Process

For a smooth switch from designing your custom sign in Design Space, now proceed to execute the step-by-step sign creation process.
Start by choosing the right wood round and cutting it to your desired size, around 11 inches, using the Cricut for precision. Apply a base coat using StarCraft chalk and mineral paint, ensuring to layer it multiple times for a smooth finish.
Next, set the cut settings for the vinyl materials, such as permanent adhesive vinyl and StyleTech opal vinyl, to create intricate designs. Use a weeding tool to remove excess vinyl for clean cuts before transferring them onto the wood round.

Cricut Design Space: Your Specific Guide On Cricut Design Space, To Know At The Best How It Works And Transform Your Project Ideas From Thoughts To Reality
As an affiliate, we earn on qualifying purchases.
As an affiliate, we earn on qualifying purchases.
Installing and Hanging Your Sign
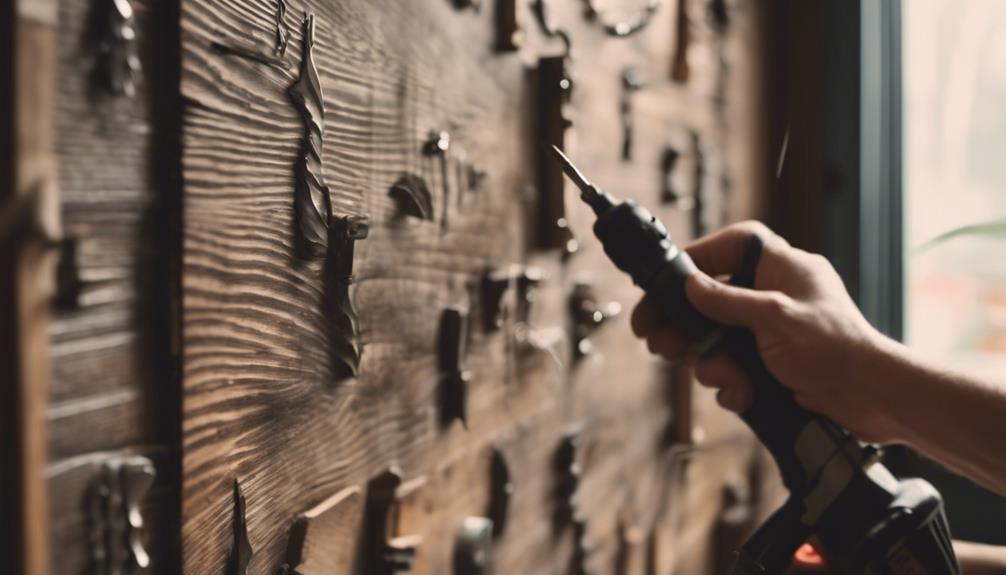
Safely install the sign holder on the wall using screws to secure stability.
You'll need one loop of leather or rope attached to the top of your sign for easy hanging. Fasten the leather or rope to a wooden dowel with staples for added support.
When selecting your hanging method, consider the weight of the sign to avoid any damage. Make sure the sign is level and centered on the wall for a polished and professional look.
By following these steps, you can confirm that your home decor sign is firmly hung and visually appealing.
Hanging your sign correctly not only enhances the aesthetic of your space but also prevents any accidents or damage. Take the time to install it properly to enjoy your personalized creation for a long time to come.
Exploring More Cricut Home Decor Projects
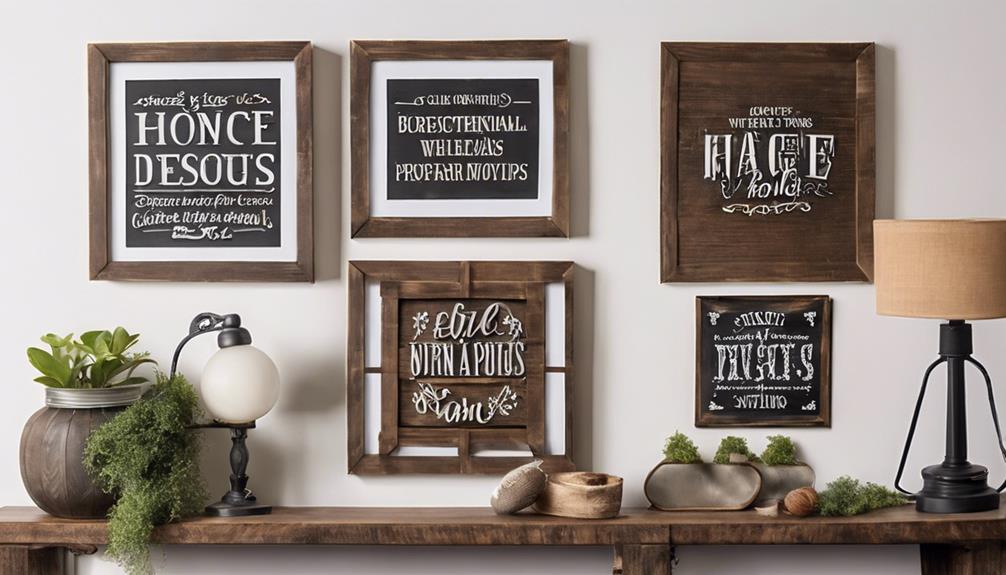
To expand your creative repertoire with your Cricut machine, explore a plethora of exciting home decor projects beyond sign-making. When using a Cricut, you need to know about a range of projects like acrylic wall planners, designing mugs, and creating gallery walls. Check out the table below for more ideas on what you can create with your Cricut machine:
| Home Decor Projects | Required Items | Design Sources |
|---|---|---|
| Acrylic Wall Planners | Acrylic sheets, adhesive vinyl, Cricut machine | Pinterest, Etsy |
| Designing Mugs | Blank mugs, permanent vinyl, heat transfer vinyl | Creative Fabrica, Design Bundles |
| Creating Gallery Walls | Photo frames, cardstock, adhesive | Canva, Creative Market |
With the right tools and inspiration, you can elevate your home decor with unique pieces made using your Cricut machine. Don't hesitate to explore these exciting projects and let your creativity shine!
Frequently Asked Questions
Can You Make Signs With Cricut?
Yes, you can easily make signs with Cricut. It enables you to craft personalized home decor signs using various materials and designs like wood, vinyl, and acrylic. Get creative and showcase your unique style!
Which Cricut Is Best for Making Signs?
For making signs, the Cricut Maker shines with its ability to cut various materials like vinyl and wood. Consider your needs and budget when choosing between the Cricut Maker and the Explore Air 2.
How to Make a Custom Home Sign?
To make a custom home sign, choose an SVG design file, customize it in Cricut Design Space, adjust sizing for your wood round, seal with StarCraft Pure Coat, paint with StarCraft chalk paint, set cut settings, and seal for durability.
Can a Cricut Make Yard Signs?
Yes, your Cricut machine can definitely make yard signs! You can create custom designs using materials like permanent adhesive vinyl, adding unique fonts and graphics for a personalized touch. Don't forget to use outdoor-friendly materials for durability.
Conclusion
So there you have it, now you're a cricut wizard creating magical home decor signs like a pro!
Remember, with a little creativity and a touch of cricut magic, the possibilities are endless.
So go forth and let your cricut skills shine bright, turning your humble abode into a Pinterest-worthy paradise.
Who needs store-bought decorations when you can DIY with style?
Happy crafting, you crafty cricut connoisseur!