Farmhouse window trim has the ability to enhance the charm and aesthetics of your home. This is an inexpensive DIY project that is suitable for all skill levels and adds a touch of vintage style. To begin, you can choose stock lumber such as 1x4s and 1x6s. With just a few tools, like a miter saw and nail gun, you can create a cozy atmosphere. Remember to sand and paint for a refined look. You can even elevate the trim with faux window mullions for added character. This project not only improves the look of your windows but also gives your space a warm, nostalgic vibe. There are more tips to discover on how to achieve the best results!
Key Takeaways
- Farmhouse window trim enhances aesthetics with vintage charm, creating a cozy atmosphere in any room.
- Affordable DIY projects using stock lumber make farmhouse trim accessible for all skill levels.
- Non-mitered designs and shaped arches elevate visual appeal while remaining easy to construct.
- Finishing with caulk, primer, and semi-gloss paint ensures a polished, durable look.

Vestamore 39.4 Ft DIY Window Trim Molding Kit, 6 Pcs Peel and Stick Decorative Grid for Windows, Doors, and Frames
Strong tpe construction: flexible, durable, wear-resistant material; backed by powerful adhesive for secure placement
As an affiliate, we earn on qualifying purchases.
As an affiliate, we earn on qualifying purchases.
Overview of Farmhouse Window Trim
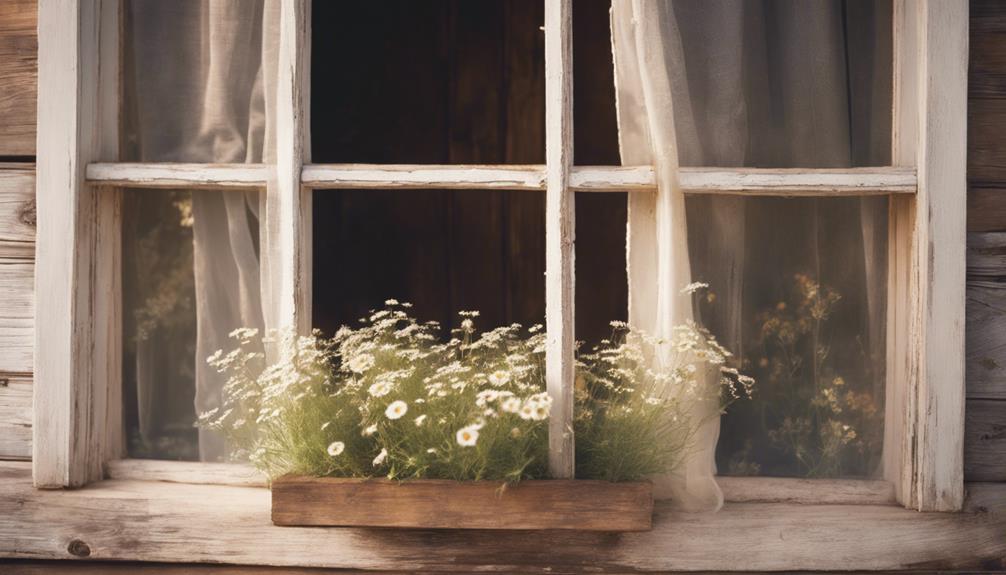
Farmhouse window trim adds vintage charm to your plain windows, transforming the aesthetic of your room into a cozy, inviting space. This DIY project is an affordable way to enhance your home's character while embracing a cozy style that reflects the warmth of farmhouse design. You don't need to be a professional to achieve stunning results; simple, non-mitered designs using stock lumber can be both accessible and cost-effective. To further enhance the farmhouse aesthetic, consider distressing the wood for a shabby chic look. This DIY project can also provide shabby chic decor inspiration for other parts of your home, such as furniture and accessories. Embracing a cozy and vintage style doesn’t have to break the bank, and farmhouse window trim is a great starting point for achieving that warm and inviting atmosphere.
By incorporating elements such as shaped arches or faux window mullions, you can greatly elevate the visual appeal of your window trim. These touches not only enhance the trim but also create nostalgic aesthetics reminiscent of childhood homes, adding a layer of comfort to modern interiors. Many homeowners have shared their success stories, finding inspiration in the ease and impact of upgrading their window trim.
With a little creativity and some basic tools, you can transform your windows into a feature that draws the eye and contributes to the overall charm of your space. So, why not jump into this fulfilling DIY project and experience the difference that farmhouse window trim can make? To create a farmhouse window trim, you will need some wood, a saw, sandpaper, wood glue, and a few nails or screws. With these simple items, you can create a beautiful and timeless look for your windows that complements any rustic farmhouse table. The natural, warm tones of the wood will add a cozy and inviting feel to your space, tying together the overall farmhouse aesthetic.

JSIWOTH 26.2 Ft Peel and Stick Wall Molding Trim, D-Shape Flexible Molding Trim White(Paintable) for Backsplash, Mirror, Wall, Window & Door Frames, Waterproof Self Adhesive Trim(W:0.4", T:0.1")
Stylish & Elegant – Curved D-Shape Design: Trim measures 26.2 ft long, 0.4 in wide × 0.1 in thick.Three Length Options…
As an affiliate, we earn on qualifying purchases.
As an affiliate, we earn on qualifying purchases.
Essential Materials and Tools

To successfully install window trim, you'll need a few essential materials and tools that streamline the process and guarantee a polished finish. For your farmhouse window trim, standard solid pine lumber in various sizes is key. You'll use 1x4s for side casings, 1x6s for window sills, and 1x2s for header boards and aprons, creating a cohesive look.
Here's a handy table to guide you:
| Essential Materials | Tools | Additional Supplies |
|---|---|---|
| Standard solid pine lumber | Miter saw | Caulk |
| Pre-primed wood | Nail gun | Wood filler |
| Jigsaw |
A nail gun with 1¼” brad nails is vital for securing the trim efficiently, minimizing visible fasteners. For precise cuts, a miter saw is necessary, while a jigsaw allows for customizing shapes. Don't forget an orbital palm sander to smooth edges before finishing. Finally, using caulk and wood filler will help achieve a clean finish by filling gaps and nail holes after your trim installation.

Storystore Window Grid Kit, 0.59inx68ft Window Grille Inserts Grid Kit, White TPE Self-Adhesive Peel and Stick Trim Molding, Flexible Windows Mullions for Windows Door Frames Home Decoration
PROTECT CORNERS: Window Grid Kit effectively protect corners and edges from daily wear and tear, reducing damage caused…
As an affiliate, we earn on qualifying purchases.
As an affiliate, we earn on qualifying purchases.
Step-by-Step Installation Process
After gathering your materials and tools, you can start the installation process by carefully removing the existing window trim with a pry bar. This guarantees you don't damage the wall or the inner window wood, which will be essential for your new DIY window trim.
Next, measure and cut your new window sill from a 1×6 board. Add a 1×2 beneath it for extra depth, and secure it in place. Then, cut your side casings from 1×4 boards, making sure they fit snugly against the new sill.
For the header construction, use 1×6 and 1×2 boards, securing them to the wall studs for stability. Finish this step by adding an apron beneath the window sill with a 1×4 board.
Once everything is in place, it's time for the trim installation. Sand, prime, and paint your window trim with semi-gloss white paint to achieve that polished farmhouse aesthetic. This final touch guarantees your new window casing looks stunning and complements the overall farmhouse style of your home. Enjoy your beautifully transformed windows!
shabby chic wood distressing kit
As an affiliate, we earn on qualifying purchases.
As an affiliate, we earn on qualifying purchases.
Finishing Touches and Techniques

Achieving a polished look for your window trim involves careful sanding, precise caulking, and selecting the right paint to enhance its beauty and durability.
Start with sanding the window trim after installation to guarantee a smooth finish, which greatly improves its overall aesthetic. After sanding, apply caulk to all seams and gaps; this not only gives your trim a clean and polished look but also helps prevent drafts and moisture infiltration around your windows.
Before painting, using a high-quality primer is essential, especially on bare wood. It seals the surface and prevents bleed-through from wood knots, allowing for a more uniform finish.
When it comes to paint, opt for a semi-gloss or satin finish. These options provide durability and are easier to clean, making them ideal for high-traffic areas.
To further enhance your farmhouse aesthetic, consider adding faux window mullions. These can be easily applied with sticky vinyl materials, giving the appearance of divided panes without the complexity of actual mullions.
With these finishing touches, your window trim won't only look stunning but also stand the test of time.
Community Experiences and Inspiration
Community members have shared inspiring success stories of transforming their windows with farmhouse trim, showcasing the ease of installation and the remarkable aesthetic improvements that follow. You'll find that many DIY enthusiasts have successfully used simple designs and stock lumber to create a vintage farmhouse look without the hassle of complex miter cuts. Their experiences highlight how accessible this project can be for anyone looking to enhance their home decor.
Through community engagement, individuals have exchanged tips and experiences, creating a supportive environment for tackling these home improvement projects. You might feel motivated to replicate or customize your own window trim designs based on what others have accomplished. The feedback often emphasizes a desire for additional guidance on dimensions and techniques, illustrating a collective enthusiasm to learn.
As you begin on your own DIY journey, remember that the stories shared by fellow community members can serve as a valuable resource. By embracing the ideas and methods they've successfully implemented, you can elevate your window molding with farmhouse trim and enjoy the aesthetic improvements that come with it.
Frequently Asked Questions
What Is the Most Popular Window Trim Style?
The most popular window trim style is farmhouse. You'll love its chunky moulding and rustic appeal, creating a warm, inviting atmosphere in your home. It perfectly balances charm and functionality, enhancing your overall decor effortlessly.
What Are the Best Windows for a Modern Farmhouse?
For a modern farmhouse, you'll love large double-hung or casement windows. They let in natural light and provide great ventilation. Consider energy-efficient options with dark frames for a stylish contrast against your home's exterior.
How Tall Should Farmhouse Baseboards Be?
When it comes to farmhouse baseboards, you shouldn't cut corners. Aim for 5 inches for a balanced look, but don't hesitate to go taller if you want to make a bold statement in your space.
Should I Put Trim Around Windows?
Yes, you should put trim around windows. It enhances your room's aesthetic, adds depth, and can improve insulation. Plus, it's a simple DIY project that can elevate your space's overall charm and appeal.
How Can I Incorporate Shabby Chic Rustic Style Into My Farmhouse Window Trim?
Incorporating the farmhouse by rachel ashwell shabby chic rustic style into your farmhouse window trim can be achieved by using distressed wooden or whitewashed frames, adding vintage lace or floral curtains, and incorporating antique hardware for an elegant yet comfortable look. Embracing the shabby chic aesthetic will bring warmth and charm to your farmhouse decor.
Conclusion
As you step back and admire your newly trimmed windows, it's like watching a cozy cottage emerge from a forest of blandness.
Just as a gardener nurtures each plant, you've cultivated charm and character in your home.
With every detail, you've woven a tapestry of warmth and style, inviting light and life to dance through your spaces.
Now, your windows don't just frame the world outside; they tell a story of your creativity and love for home.