
Turn leftover pieces of wood into custom decor signs! Cut the boards to the same length for a polished look. Apply Minwax Dark Walnut stain for a rustic feel. Transfer printed words onto the wood for a special touch. Use an orbital sander to smooth out the boards. Attach brackets for effortless hanging. Get creative with paint colors and finishes to achieve a personalized look. With just a few basic tools and some imagination, you can give your space a new and unique vibe.
Key Takeaways
- Gather scrap wood, stain, and tools for a rustic sign.
- Cut boards evenly, sand, stain, and distress for charm.
- Transfer printed words, fill with acrylic paint for personalization.
- Add hang brackets for easy wall mounting.
- Experiment with paint colors, finishes, and decorative elements for a unique touch.
Materials and Tools
For assembling your DIY home decor signs, gather materials like scrap wood boards, screws, a drill, and an orbital sander. Confirming your wood boards are cut to the same length and sanded smooth is essential for a polished final product. Once you have your materials ready, it's time to get creative with your design.
One popular method is using Minwax Dark Walnut stain to achieve a rustic appearance with even coverage on the sign. To personalize your sign, transfer printed words onto the wood by tracing them with a ballpoint pen and filling the grooves with paint. This technique adds a unique touch to your home decor.
Once your sign is complete, don't forget to add brackets for hanging. Remember to locate the studs on your wall to secure placement for your DIY masterpiece. With these steps, you'll have a beautifully crafted home decor sign that adds personality to any room.
Board Preparation
To prepare the boards for your DIY home decor sign, start by cutting scrap 1x wood boards to the same length for consistency.
Confirm all boards are equal in length to create a uniform look for your sign.
This step sets the foundation for a well-constructed and visually appealing piece of decor.
Cut Boards to Length
How do you guarantee all your scrap 1x wood boards are cut into 13 equal lengths for the backer board of your DIY home decor sign? Properly cutting the boards is essential for ensuring hanger placement, uniform sign construction, proper alignment, and ultimately a sturdy home decor sign. To achieve this, follow the steps below:
| Step | Action | Tips |
|---|---|---|
| 1 | Measure & mark the board | Use a square to confirm accurate markings |
| 2 | Set up cutting equipment | Secure the board before cutting |
| 3 | Cut the boards to the marked length | Use a sharp saw for clean cuts |
| 4 | Check for consistency | Compare each board's length for uniformity |
Ensure Equal Board Lengths
Make certain all boards are precisely the same length before proceeding with assembling your DIY home decor sign. When working with scrap wood boards for your wood sign, it's essential to mark and cut them to equal lengths. This step guarantees that your DIY home decor sign will have a clean and professional look.
By having equal board lengths, you'll find it easier to place hangers evenly on the backer board of your sign. Consistency in board lengths is key to achieving symmetry and precision in your sign design. Whether you're creating a rustic farmhouse sign or a modern wall art piece, ensuring that all boards are of the same length is a fundamental part of board preparation.
This simple yet important detail will contribute significantly to the overall aesthetic appeal of your DIY home decor sign. So, take the time to measure and cut your boards accurately for a polished and cohesive final product.
Sign Creation Process
For easier hanger placement in your sign creation process, cut wood boards to the same length.
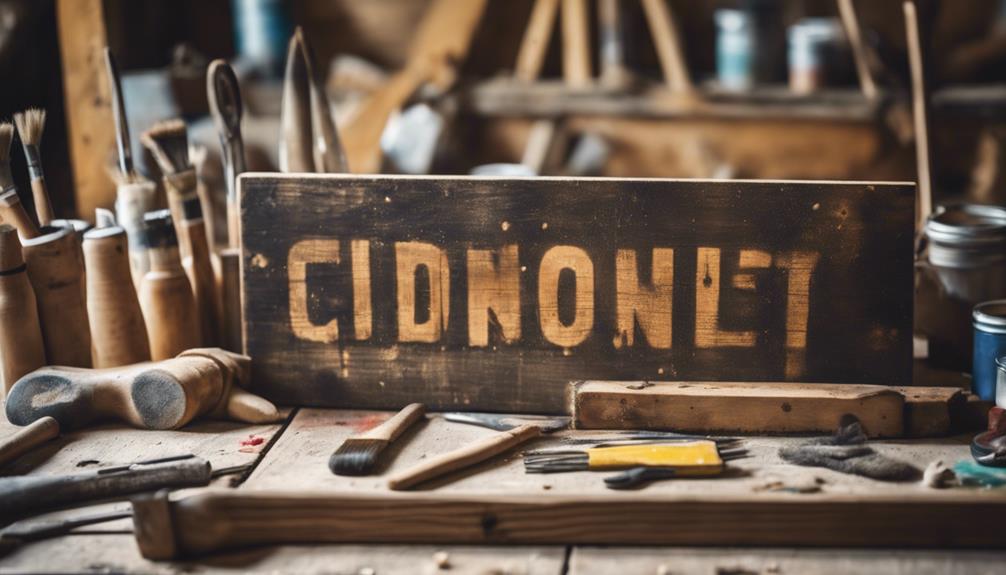
Once you have your boards ready, apply Minwax Dark Walnut stain for a rustic touch on both the front and back of the sign.
Next, transfer printed words onto the wood by tracing them with a ballpoint pen, creating grooves for the paint to settle.
Fill in these grooves with acrylic paint using a fine tip brush, applying two coats for a bold and vibrant finish.
To hang your sign securely, attach hang brackets to the back of the boards. This will guarantee that your DIY home decor sign is ready to be mounted on the wall and admired by all.
Sanding and Staining

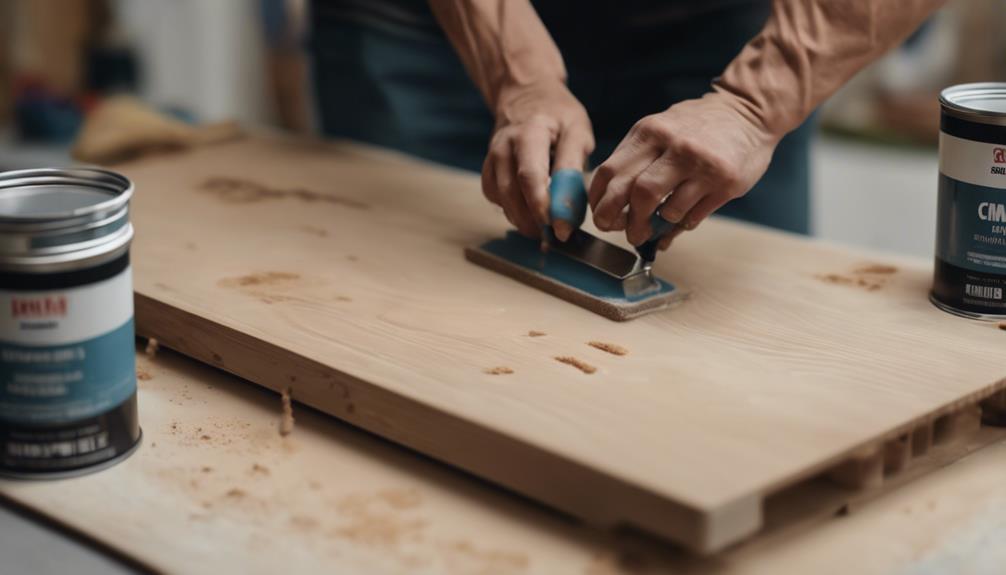
Achieve a smooth surface for your wood sign by sanding with an orbital sander or 180 grit sandpaper. Sanding helps prepare the wood for staining and guarantees a professional finish.
To add rustic charm, you can distress the wood before sanding by lightly beating it up or using distressing techniques. Once the wood is smooth and distressed to your liking, it's time to move on to staining.
Consider using Minwax Dark Walnut stain to enhance the color and finish of your wood sign. Apply the stain evenly using a brush or cloth, making sure to cover the entire surface. Allow the stain to dry for at least 24 hours to secure a thorough and professional look.
Staining not only adds color but also protects the wood from wear and tear, making your DIY home decor sign last longer and look more appealing.
Word Layout and Transfer
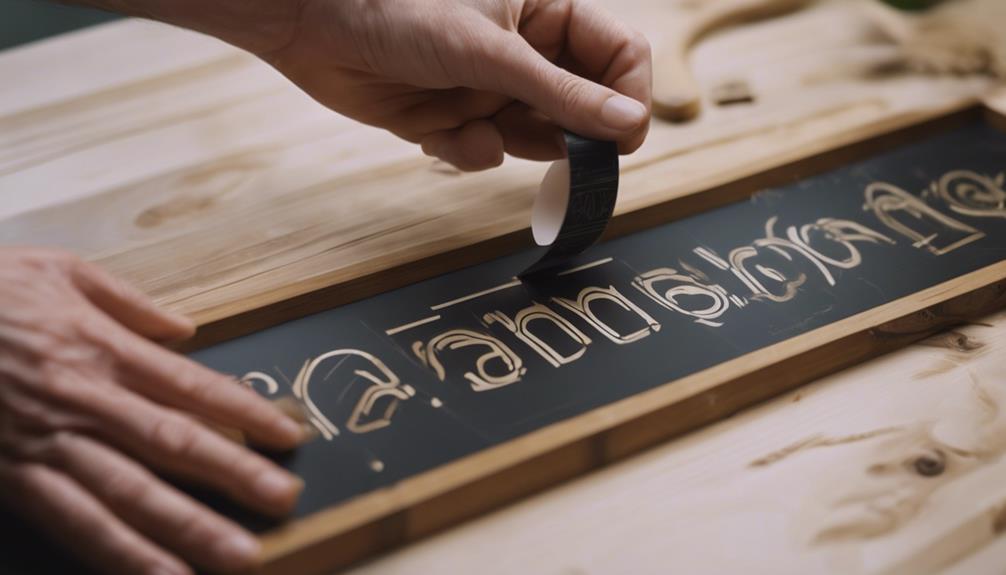
When creating your DIY home decor sign, begin by selecting a font you love and printing the words in a soft color for your sign layout.
To transfer the words onto the wood, carefully trace around each letter with a ballpoint pen. As you trace, make sure to create grooves in the wood that will guide your painting process later on.
Once the words are transferred, fill in the grooves with acrylic paint using a fine tip brush for precise detailing. This technique will give your sign a clean and professional finish.
Allow the paint to dry completely for at least 24 hours before moving on to the next steps in completing your homemade decor piece.
Painting and Finishing Touches

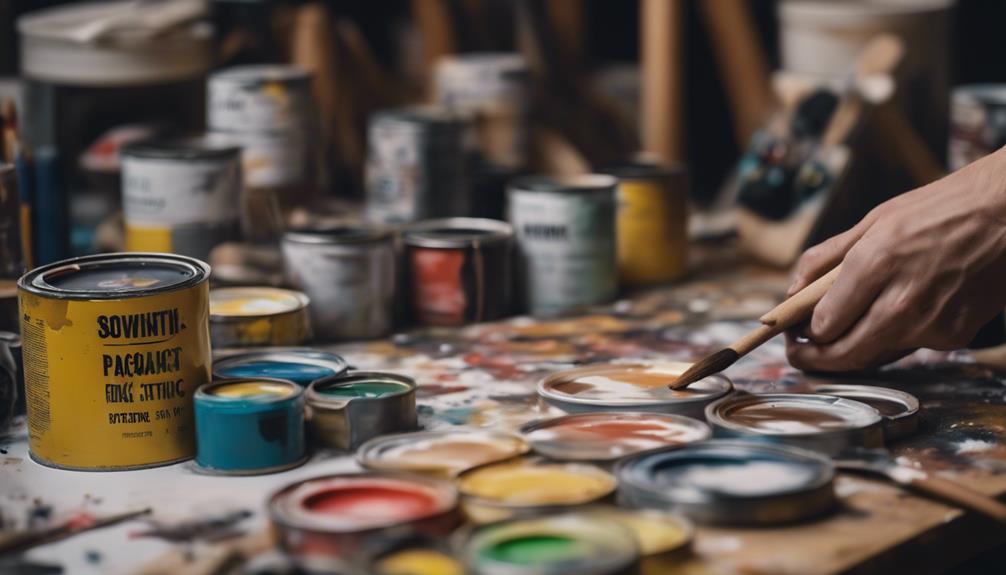
Enhance the visual appeal of your DIY home decor signs by carefully selecting the right paint colors for a vibrant and personalized touch. When it comes to painting your signs, consider using acrylic paint markers for precise and eye-catching lettering.
To add a protective layer and ensure long-lasting quality, apply a protective coating over the painted surface. For a rustic look, try distressing techniques such as sanding or painting to achieve a weathered finish.
To add decorative elements and a unique touch to your signs, consider incorporating wood beads and twine into the design. Experiment with different finishes like matte, glossy, or metallic paints to achieve the desired aesthetic. Use a paint brush to apply the finishes evenly and smoothly.
Hanging Your Home Decor Sign
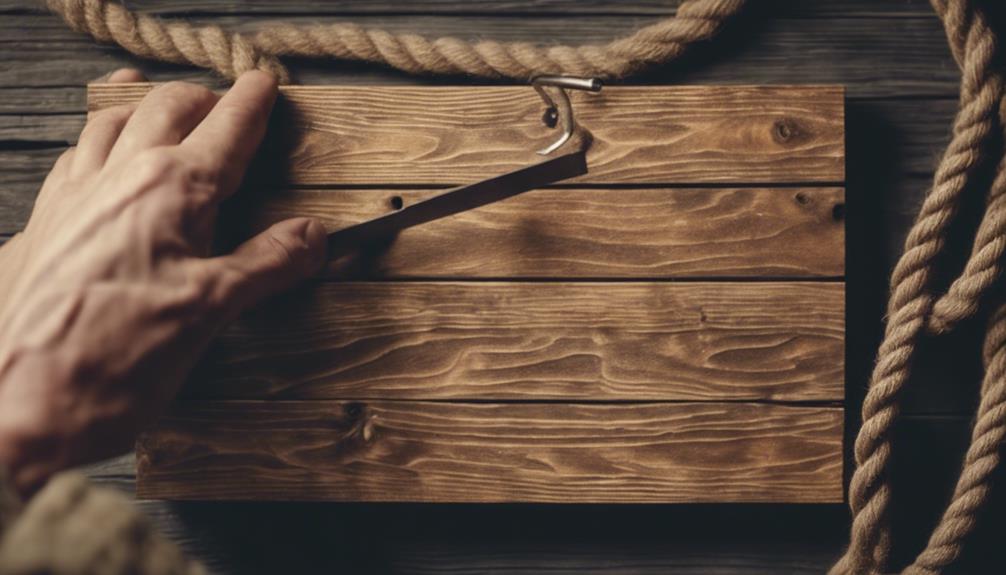
To properly hang your DIY home decor sign, start by using a stud finder to locate studs on the wall for secure mounting. Make certain to securely attach brackets to the back of your sign before hanging.
Measure and mark where the brackets will go on both the sign and the wall to guarantee proper alignment. Use a level to confirm your sign is straight when hanging it. Add a little bit of hot glue to the back of the sign before attaching the brackets for extra support.
When selecting screws to hang your sign, choose ones that match the weight and material of the sign to prevent any mishaps. Once everything is prepared, carefully hang your sign on the wall, making certain the brackets fit securely onto the screws.
Frequently Asked Questions
How to Make Homemade Signs?
To make homemade signs, gather scrap wood, screws, a drill, and sandpaper. Stain the wood for a rustic look, trace printed words onto it, and fill grooves with paint. Attach brackets for hanging and secure it on the wall.
How to Make a Sign Without a Cricut?
To make a sign without a Cricut, cut wood boards to the same length. Sand and stain them for a rustic look. Print out words in a soft color, transfer onto wood, and paint with acrylic. Add brackets for hanging and mount on the wall.
What Tools Are Needed to Make Wood Signs?
Want to craft your own home decor signs? You'll need scrap wood boards, screws, a drill, and an orbital sander or sandpaper for a smooth finish. Cutting, sanding, painting letters, and adding brackets complete the process.
How to Make Wood Plank Signs?
To make wood plank signs, cut boards to the same length. Stain with Minwax Dark Walnut for a rustic look. Trace printed words onto the sign with a ballpoint pen. Paint the letters with acrylic paint. Attach hanging brackets securely.
Conclusion
Now that you've learned how to make your own home decor signs, you can transform your space with personalized pieces that reflect your style and creativity. These homemade home decor ideas can add a unique touch to any room, whether it’s a custom quote on a wooden sign or a hand-painted mural. By incorporating your own personalized pieces, you can showcase your personality and make your living space truly your own. Experiment with different materials and techniques to create one-of-a-kind pieces that will be sure to impress your guests.
So grab your materials and tools, get ready to sand, paint, and hang with pride.
DIY delight awaits as you bring a touch of handmade charm to your home!