
Create stunning wall hanging home decor by sanding wood, tracing quotes, painting meticulously, and applying multiple layers for a flawless finish. Master the art of staining by following proper techniques like sanding in the grain direction, generously applying stain, and wiping off excess. Craft heart designs by hammering nails, using crochet thread, and incorporating paper hearts. Hang securely with picture hanger strips for convenience. Opt for picture hanger strips for strong mounting that leaves no residue. Ensure precise alignment for a captivating display that complements your room’s ambiance. Discover expert tips and tricks to enhance your wall art creations. Find inspiration by including creative home decor signs in your wall hangings. Select meaningful quotes or phrases that reflect your personal style and home decor. Experiment with various fonts, colors, and materials to craft a one-of-a-kind piece of art. With meticulous attention to detail and a dash of creativity, your wall hangings will become the focal point of any space.
Key Takeaways
- Sand and stain wood for a polished base.
- Paint quotes with precision and contrasting colors.
- Create heart designs with nails and crochet thread.
- Attach paper hearts neatly with artist tape.
- Use picture hanger strips for easy and secure wall art display.

KLOGTSIND Kids Art Display Wall Decor, Wooden Beads Garland Frame Holder with 34 Clips for kids artwork, Photo, Wall Hanging Boho Room Bedroom Decor
Art Display for Kids Artwork: Every child deserves to have their artistic creations displayed and celebrated. This collage…
As an affiliate, we earn on qualifying purchases.
As an affiliate, we earn on qualifying purchases.
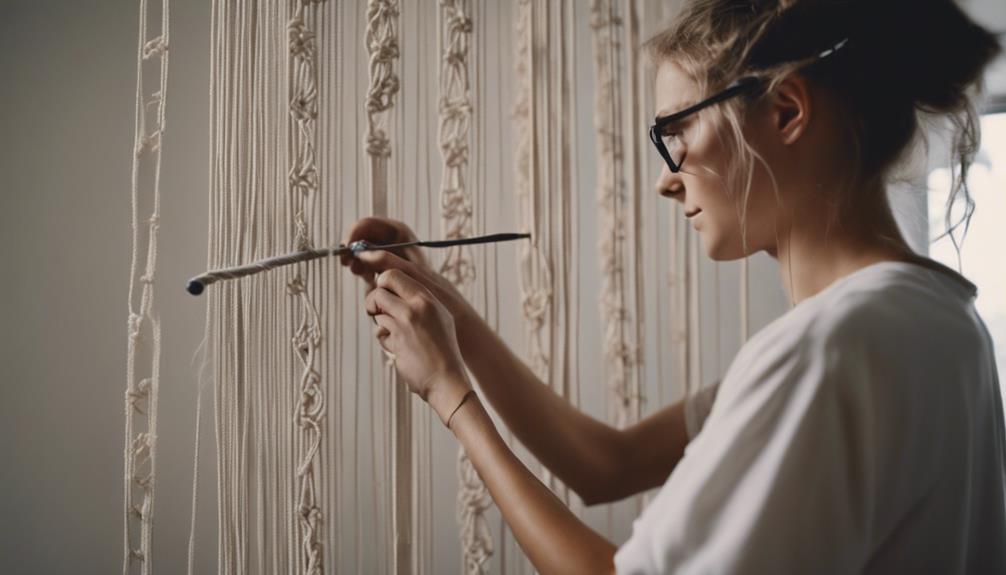
Quote Transfer Preparation
To prepare for transferring a quote onto wood, start by sanding the wood in the direction of the grain for a smooth surface. This step is essential for achieving a clean and professional look for your DIY wall art project.
Once the wood surface is smooth, you can proceed with the quote transfer preparation. Begin the quote transfer process by tracing the desired quote with charcoal on the back of a printed banner. This will allow you to easily transfer the quote onto the wood surface.
After tracing, clean the wood surface to remove any excess charcoal residue that may interfere with the painting process. A clear outline is necessary for painting the quote accurately.
With the wood surface prepped and the quote traced, use small paintbrushes to paint the quote onto the wood. Apply multiple layers of paint to guarantee a bold and long-lasting finish.
Taking the time to prepare the wood and transfer the quote meticulously will result in a stunning piece of DIY wall art for your home.
picture hanging strips for wall decor
As an affiliate, we earn on qualifying purchases.
As an affiliate, we earn on qualifying purchases.
Wood Staining Process
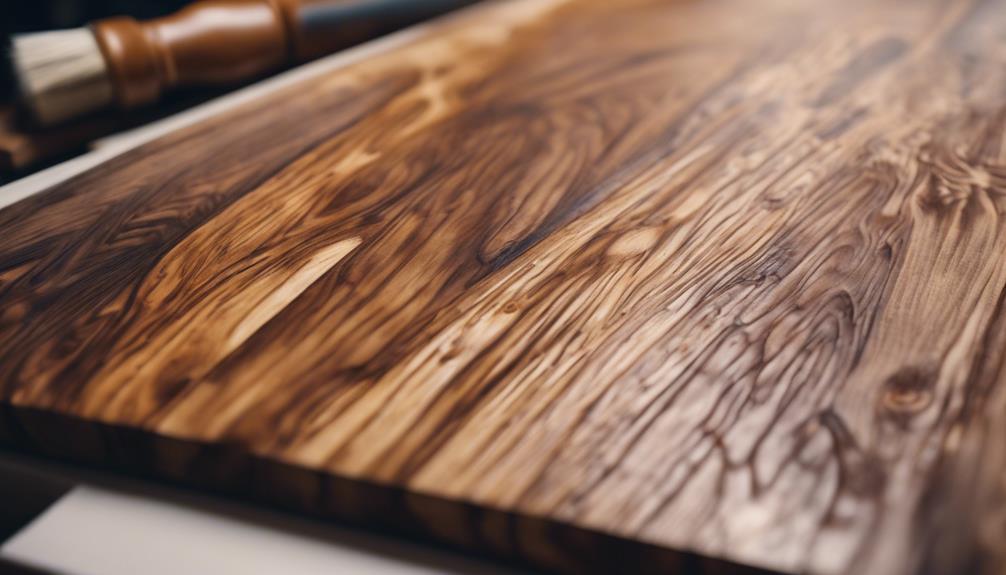
When it comes to the wood staining process, you'll need to master proper stain application techniques and consider the best staining time. Techniques like sanding with the grain and allowing the stain to sit for about 10 minutes are essential for a successful finish.
Remember to apply the stain generously for even color penetration and a rich end outcome.
Stain Application Techniques
Prepare the wood surface for staining by sanding it in the direction of the grain to create a smooth finish. When applying wood stain for your home decor project, remember to do so generously and evenly to achieve a rich and consistent color on the wood surface. Allow the stain to sit for approximately 10 minutes before wiping off the excess to attain the desired depth of color. Use a paper towel to remove any surplus stain, ensuring a clean and neat finish without any blotches or streaks. This technique not only enhances the natural beauty of the wood grain but also provides protection against moisture and wear.
| Stain Application Techniques | Tips |
|---|---|
| Sand in the direction of the grain | Creates a smooth finish |
| Apply stain generously and evenly | Achieves rich color |
| Let stain sit for 10 minutes | Enhances depth of color |
Staining Time Considerations
Sand the wood surface in the direction of the grain before applying the wood stain to ensure proper preparation for the staining process.
Once you've sanded the wood, it's time to move on to the staining phase. When staining wood, typically allow around 10 minutes for the stain to set on the surface. During this time, make sure to apply the wood stain generously to achieve an even and rich color on the wood.
After applying the stain, remember to remove any excess stain using a paper towel. This step is important in helping you achieve the desired finish on the wood.
Before you start staining today, make sure that the sanded wood is clean. Cleaning the wood surface before staining is necessary for best results in the wood staining process.
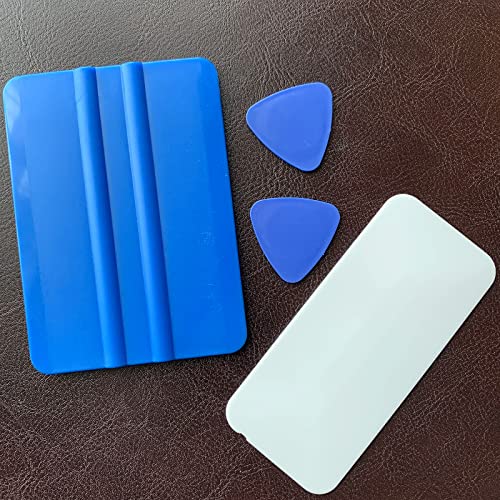
Morld Rub On Transfer Tools for Crafts Furniture Scrapbooking, Suitable Various Size Transfers Stickers, Blue
Rub On Transfer Tools for Crafts Furniture Scrapbooking, Suitable Various Size Transfers Stickers.
As an affiliate, we earn on qualifying purchases.
As an affiliate, we earn on qualifying purchases.
Painting the Quote
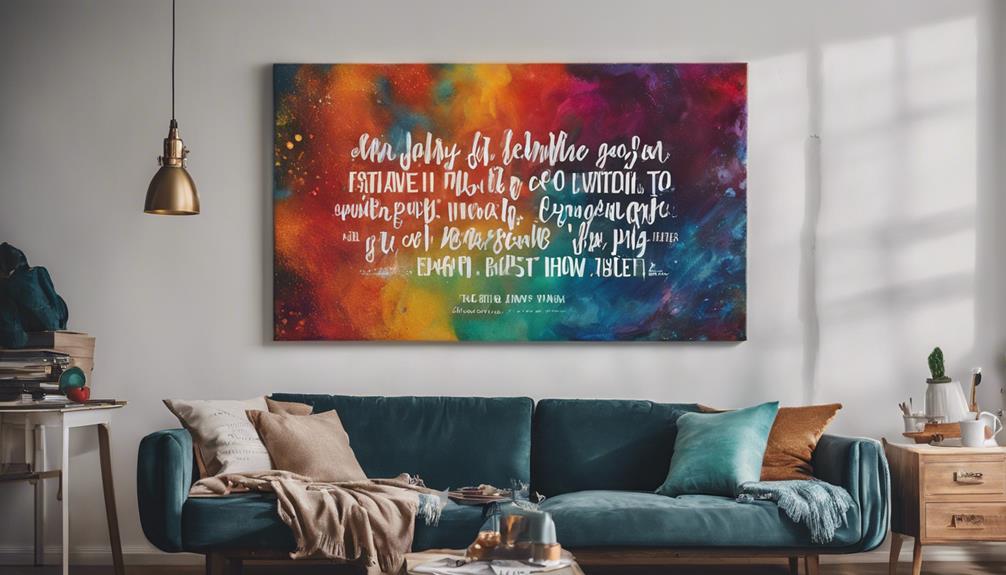
To effectively paint the traced quote onto the wood surface, carefully use a small paintbrush. Apply multiple coats of paint to guarantee the quote stands out boldly. Take your time to accurately recreate the quote on the wood for a polished look.
Choose a contrasting color for the quote to make it visually appealing and easy to read. Allow each coat of paint to dry completely before adding the next layer for a smooth finish.
When painting the quote, make sure to maintain a steady hand and work in a well-lit area for precision. Remember that patience is crucial, so don't rush the process.
heart-shaped nail art kit
As an affiliate, we earn on qualifying purchases.
As an affiliate, we earn on qualifying purchases.
Heart Design Creation
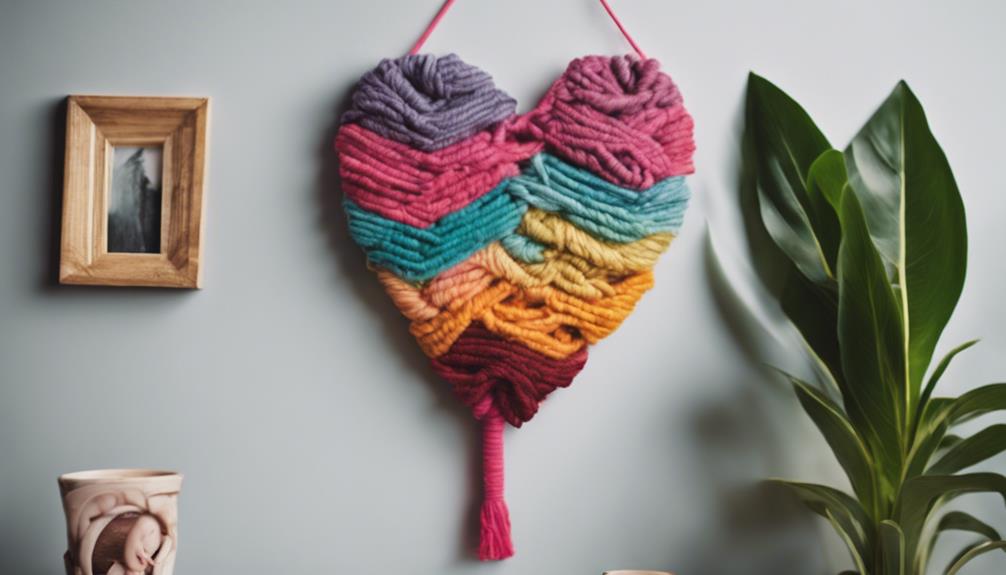
Create a charming heart design on wood by hammering nails and looping crochet thread around them. Using a printed quote as a guide, paint the heart shape for a personalized touch. To add dimension, secure paper hearts with artist tape and crochet thread alongside the main heart design. This technique enhances the romantic feel of the wall decor. Finally, attach picture hanger strips to the back of your DIY creation for easy wall hanging.
| Heart Design Creation Steps | Materials Needed |
|---|---|
| Hammer nails into wood in a heart shape | Wood piece |
| Loop crochet thread around the nails | Nails |
| Use a printed quote as a painting guide | Crochet thread |
| Secure paper hearts with artist tape | Hammer |
| Add picture hanger strips for hanging | Artist tape |
Crochet Thread Application
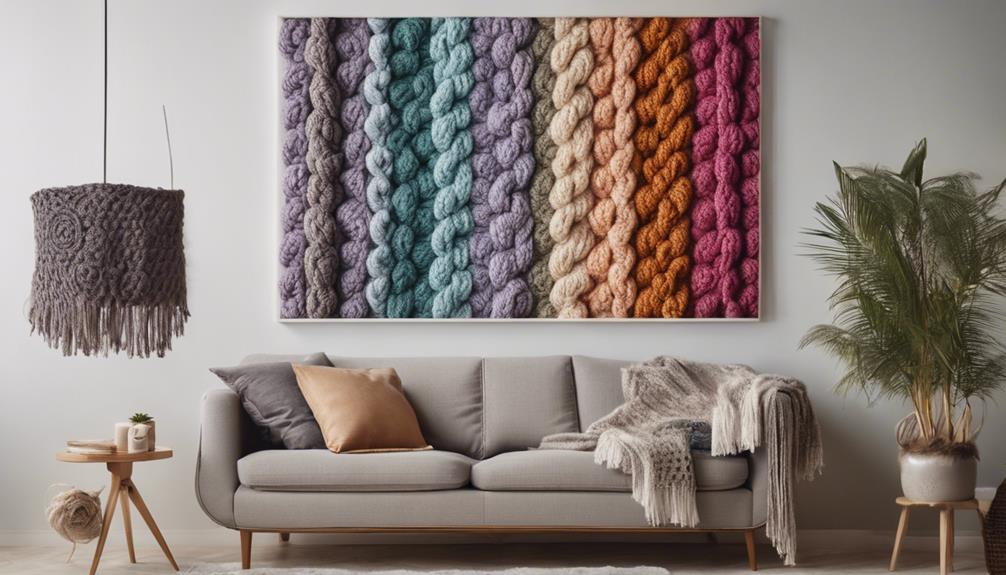
You can create intricate designs on your wall hanging by mastering the thread looping technique with crochet thread.
Be sure to secure the crochet thread properly to guarantee your design stays in place and looks polished.
These techniques will help you achieve a professional and artistic look for your home decor.
Thread Looping Technique
Enhance your wall hanging home decor with the intricate and visually appealing thread looping technique using crochet thread. This method allows you to create stunning designs by looping the crochet thread around nails, adding a unique texture and dimension to your DIY wall art.
Here are some tips to help you master the thread looping technique:
- Create intricate designs: Looping crochet thread around nails enables you to form various shapes like hearts, stars, or even abstract patterns.
- Add texture and depth: The crochet thread adds a beautiful texture to your wall hanging, making it visually interesting and unique.
- Simple yet stunning: Despite its simplicity, the looping process creates visually stunning results that elevate the overall look of your home decor.
- Personalize your design: Experiment with different colors and thicknesses of crochet thread to customize your wall art piece and make it truly yours.
Securing Crochet Thread
To secure the crochet thread in place effectively and achieve a polished finish, loop it tightly around the nails in a defined heart shape. By looping the crochet thread evenly around the heart perimeter, you can create a neat and professional look for your wall hanging decor. This technique not only safeguards the thread but also adds texture and dimension to your DIY art piece.
After looping the thread around the nails, be certain to cut off any excess thread to maintain a clean appearance. To guarantee a secure hold, tie the crochet thread tightly around the nails and trim any leftover thread for a polished final touch. This method won't only keep your crochet thread in place but also give your wall art a refined finish.
Mastering the art of securing crochet thread will elevate the overall aesthetic of your wall hanging home decor.
Adding the Paper Heart

Cut out a heart shape from colored paper or cardstock to add a pop of color to your wall hanging home decor. This simple addition can bring charm and warmth to your space.
Attach the paper heart to the wood plank using artist tape for a secure hold. The tape allows for easy removal and repositioning if needed, ensuring a stress-free decorating experience.
Consider using different paper textures or patterns to enhance the visual appeal of the heart. Mixing and matching patterns can create a dynamic look that catches the eye.
Loop crochet thread around the heart's perimeter to outline and define its shape. This step adds a delicate and intricate detail to your decor.
Secure the thread in place by tying it off neatly and trimming any excess for a polished finish. Attention to these small details will elevate the overall appearance of your wall hanging.
Attaching Picture Hanger Strips
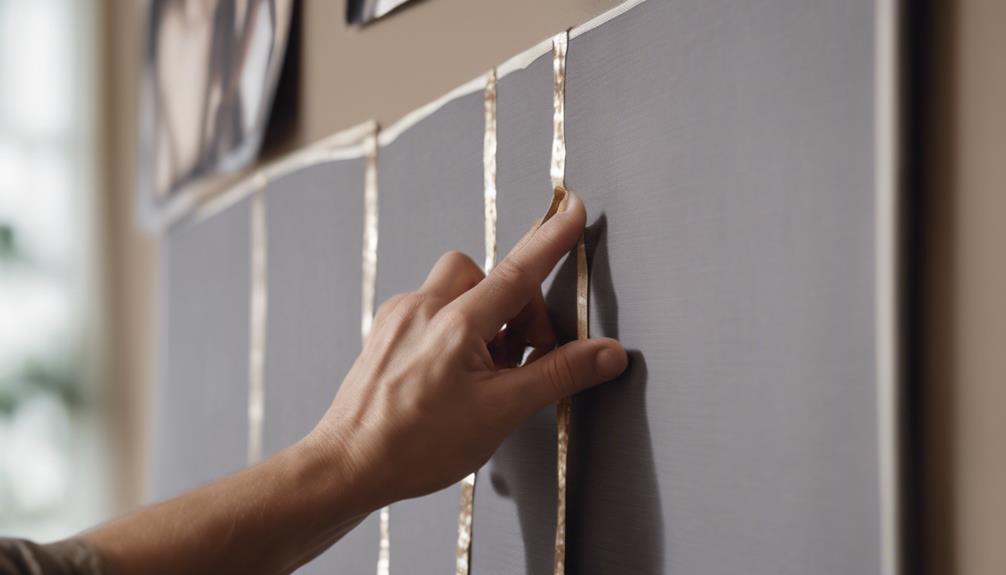
Consider using picture hanger strips to effortlessly hang your wall art securely and damage-free. These adhesive strips are a hassle-free solution for displaying your decor.
They can support significant weight and are simple to apply and remove without causing any wall damage, perfect for renters or those who frequently change their decor.
With various sizes and strengths available, picture hanger strips cater to different wall art pieces' weights and sizes. They're versatile, adhering well to painted walls, tiles, metal, wood, and glass, offering flexibility in hanging options.
When it's time to remove them, these strips come off cleanly, leaving no residue behind or harming the surface. Whether you're looking for a temporary or permanent hanging solution, picture hanger strips are a reliable choice that guarantees your wall art stays securely in place while preserving your walls.
Securing DIY Wall Art
For securing DIY wall art effectively, make certain you select the appropriate hanging hardware based on the type of wall you're working with. Here are some tips to guarantee your wall art stays securely in place:
- Use picture hanger strips: Opt for these strips for a secure and damage-free hanging experience.
- Ensure even weight distribution: Prevent your wall art from falling by distributing the weight evenly across the hanging hardware.
- Choose the right hanging hardware: Select nails for drywall and screws for studs to ensure proper support.
- Consider size and weight: When selecting hanging methods, take into account the dimensions and weight of your wall art to choose the most suitable hardware.
Final Wall Art Display
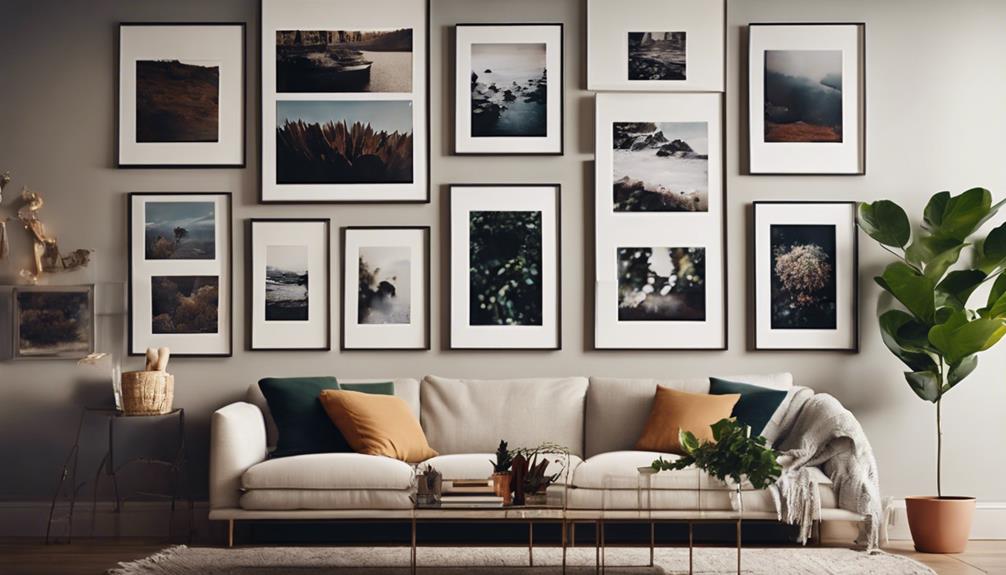
Achieve a visually pleasing wall art display by ensuring proper alignment and reflecting on the room's overall aesthetic. Securely hang your DIY wall art to prevent accidents or damage. Use a level to guarantee straight alignment. Step back and assess the display from various angles to enhance its visual appeal. Make any final adjustments to improve the overall look with decorative touches.
When choosing the final placement, remember to reflect on how the wall art complements the room's aesthetic. Ensure it fits well with the existing decor and doesn't clash with other elements in the space. By taking the time to carefully position your wall art, you can create a cohesive and visually striking display that enhances the room's ambiance.
Remember that the way you display your wall art can significantly influence the overall feel of the room. Pay attention to details like spacing between pieces, height placement, and overall balance. These reflections will help you create a stunning wall art display that impresses all who see it.
Frequently Asked Questions
How to Make Elegant Wall Decor?
To make elegant wall decor, choose a neutral or metallic color palette. Add texture with fabric or metallic accents. Opt for sleek designs using high-quality materials like wood, metal, or glass. Consider geometric shapes or abstract patterns for a modern touch.
How to Accessorize Wall Art?
To accessorize wall art, combine different textures and sizes for a visually appealing look. Use decorative hooks, shelves, or lighting to enhance the display. Incorporate plants and other elements for a stylish touch. Experiment with layering for a dynamic design.
How Can I Make My Walls Attractive?
To make your walls attractive, think of them like a blank canvas waiting for your creativity to shine. Mix DIY projects, experiment with typography, and consider themed ideas. Use removable items for easy changes and personalize with frames and art.
How Do You Balance Wall Art in a Living Room?
To balance wall art in your living room, consider the size and layout first. Mix paintings, photos, and sculptures for variety. Distribute them using the rule of thirds. Vary sizes and shapes for a dynamic look, and avoid overcrowding for a polished feel.
Conclusion
Now that you have completed all the steps to create your own impressive wall art, it's time to hang it up and show off your creativity! Make sure to secure it properly and step back to admire your handiwork.
Stay tuned for more DIY home decor projects to add a personal touch to your living space. Get ready to be amazed by the transformation of your walls!