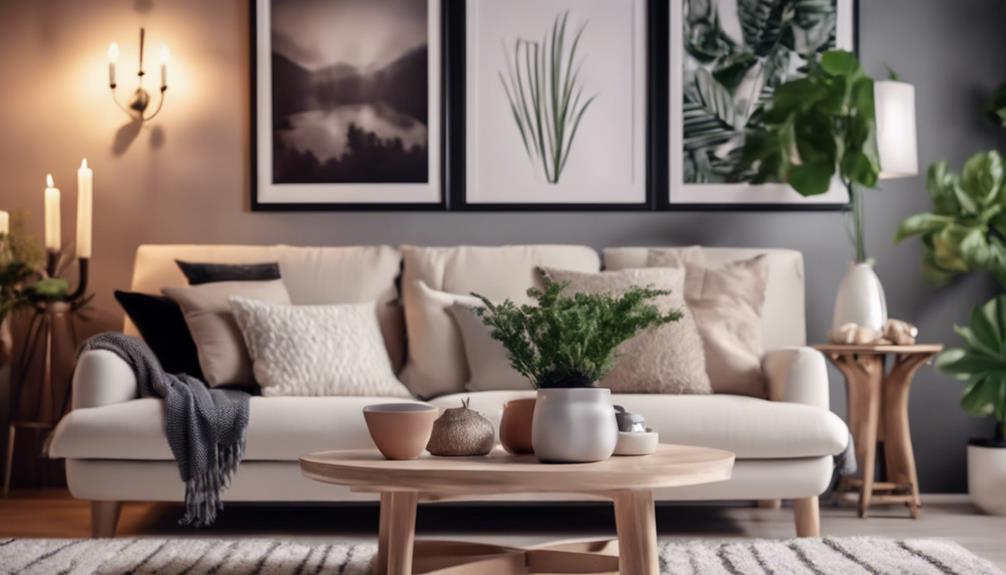
Upgrade your home decor with a Cricut machine and crafty tools. Cut and design vinyl with accuracy, then stick it on a sleek wood sign. Tailor your design size and utilize the weeding tool for a refined final touch. Use a brayer tool for applying vinyl without any bubbles. Add personalized touches and ensure proper alignment on your sign. Save money by incorporating cost-effective solutions such as using thrifted items and vinyl decals for seasonal refreshes. Prepare to unleash your creativity by adding a custom touch to your home decor with Cricut – the options are limitless.
Key Takeaways
- Use Cricut machine for precise vinyl cutting and customization.
- Apply vinyl meticulously for a flawless finish with a brayer tool.
- Personalize designs with unique colors and thematic elements.
- Opt for budget-friendly DIY decor using affordable materials.
- Enhance skills and creativity through online tutorials and crafting communities.

Cricut Explore® 5 Essential Bundle + Digital Content, Taupe – Precise Cutting Machine – Works with 100+ Materials – Sleek, Simplified Design – Includes Supplies for 65 Projects + Bonus Digital Content
12 IN (30.5 CM) CUTTING MACHINE: Cricut Explore 5 is the newest generation of our Cricut Explore machines…
As an affiliate, we earn on qualifying purchases.
As an affiliate, we earn on qualifying purchases.
Materials and Tools Needed
To create impressive home decor with your Cricut, gather essential materials and tools. Begin with a wood sign purchased from Amazon, making sure it's smooth and ready for customization. Other materials to gather include adhesive vinyl in various colors and patterns, transfer tape, and a weeding tool. These simple home decor ideas can be easily achieved by using your Cricut machine to cut out personalized designs and phrases to adorn the wood sign. With some creativity and the right tools, you can create a stunning and unique piece of home decor that will impress anyone who sees it.
You'll need vinyl in your preferred color, vinyl transfer tape to transfer your designs smoothly, and brackets for hanging the finished piece. The key tool for this project is your Cricut machine, which will precisely cut the vinyl to your desired design.
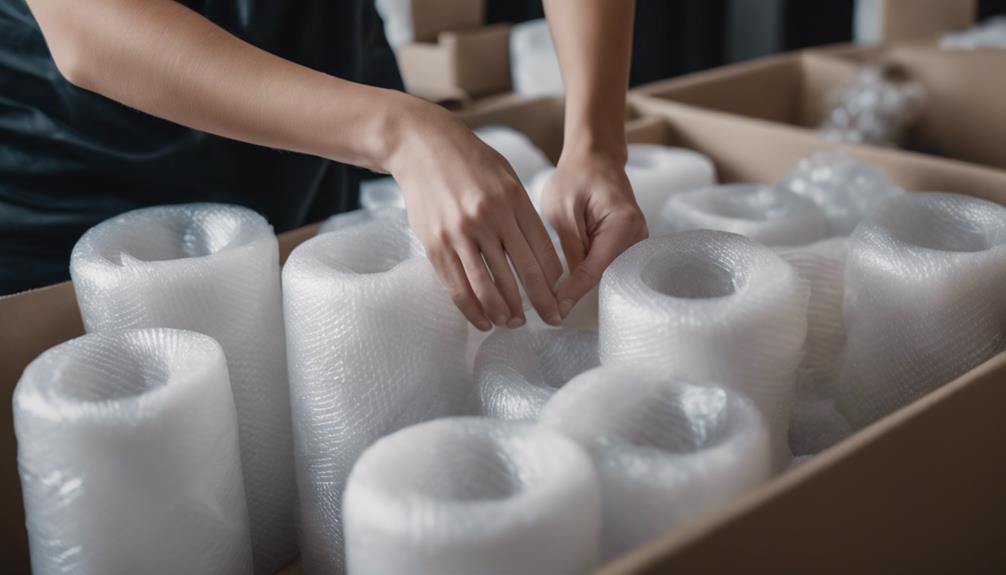
Additionally, have a paper trimmer on hand for accurate measurements, a weeding tool to remove excess vinyl, a scraper tool to apply the vinyl onto the wood sign, and a brayer tool for smooth application.
Remember to use a roller tool for vinyl application, a weeding pen for intricate designs, and consider a design from Tape Made Modern for a personalized touch. Pay attention to measurements and alignment to secure a professional finish on your wood sign.

Creative Hobbies 10×10 Inch Unfinished Wood Hanging Plaque – DIY Pallet Sign, Notch Banner, Wooden Sign, Wood Slice, Decorative Plaque, Rustic Decor for Shop Home, Craft Projects
WOOD PALLET PLAQUE BLANK -10×10 Inch Unfinished Wood Ready to Decorate and Personalize – For DIY , Gifts…
As an affiliate, we earn on qualifying purchases.
As an affiliate, we earn on qualifying purchases.
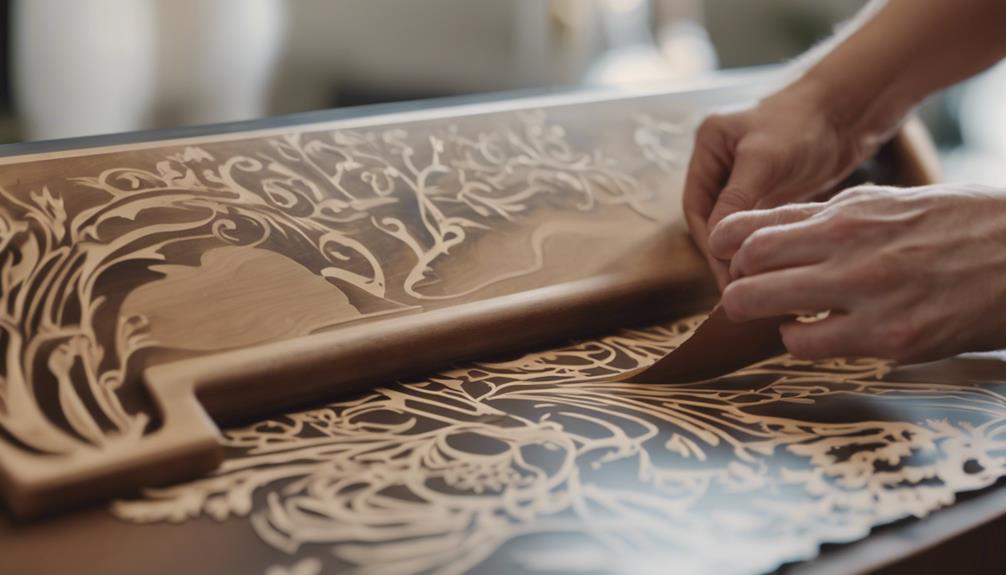
Designing and Cutting Vinyl
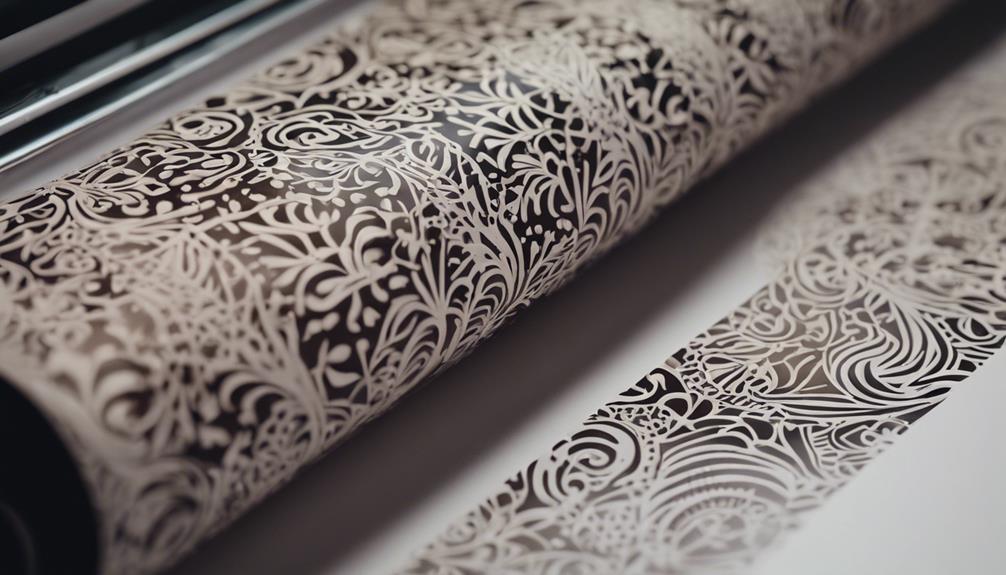
For creating custom vinyl designs with your Cricut for your home decor project, start by utilizing designs from Tape Made Modern. These designs are perfect for adding a personalized touch to your signs. Using a Cricut machine, you can cut the vinyl with precision, guaranteeing intricate details come out beautifully.
Before cutting, customize the design sizing on your computer to match the dimensions of your wood sign perfectly.
When cutting the vinyl, make sure to use a weeding tool to remove excess vinyl meticulously. This step is essential, especially when dealing with tiny pieces in intricate designs. By taking your time and being careful, you can achieve a clean and professional look.
Once you have your vinyl design ready, use a brayer tool to apply the vinyl to the wood sign. This tool helps secure a smooth application, giving your home decor project a polished finish.

Cricut® Value Permanent Vinyl, White (12 in x 10 ft)
INCLUDES – 1 roll of permanent vinyl 12 in x 10 ft (30.5 cm x 3 m) -…
As an affiliate, we earn on qualifying purchases.
As an affiliate, we earn on qualifying purchases.
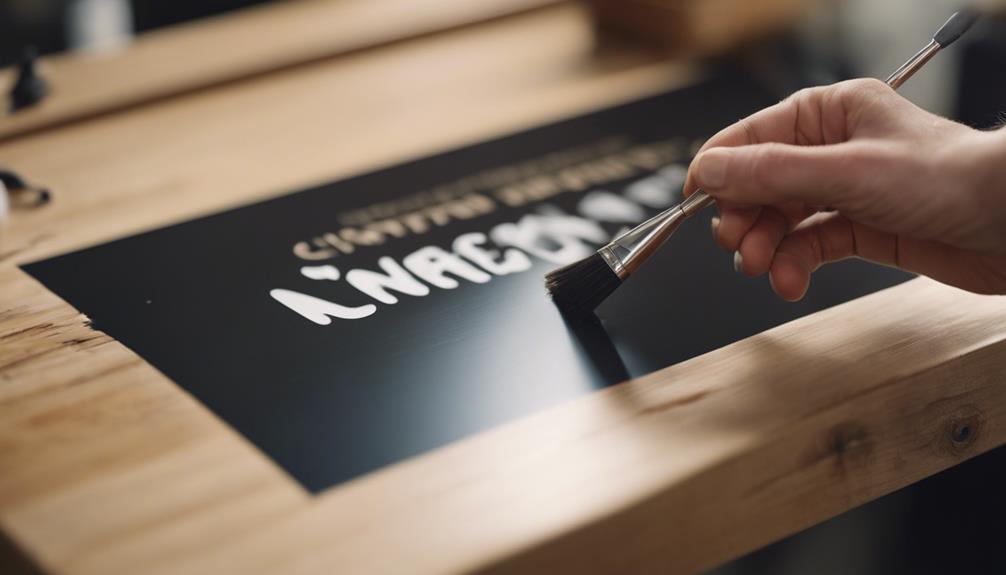
Applying Vinyl to the Sign
To achieve a professional finish on your home decor sign, utilize a brayer tool for even vinyl application.
Employ a weeding tool to meticulously remove excess vinyl, ensuring clean lines and precise details.
Vinyl Application Techniques
Smoothly apply the vinyl to the wood sign using a brayer tool to achieve a bubble-free and even finish. Begin from the center and roll outwards to push out any air bubbles. When applying the vinyl, use firm pressure to guarantee proper adhesion to the wood surface. Let me know if you need help with aligning the vinyl correctly to avoid any misplacement.
To help you visualize the process better, here's a table summarizing the key steps for vinyl application:
| Vinyl Application Techniques |
|---|
| 1. Use a brayer tool for smooth application |
| 2. Apply firm pressure for proper adhesion |
| 3. Begin from the center and roll outwards for a bubble-free finish |
Weeding Excess Vinyl
Use a weeding tool to meticulously remove excess vinyl from the design on the sign, ensuring clean edges and precise details. Weeding is essential to achieve a professional and polished look for your home decor project.
Here are some tips to help you weed vinyl effectively on one side of the sign:
- Start by peeling off one corner of the excess vinyl gently.
- Use the weeding tool to lift and remove small pieces of vinyl carefully.
- Work slowly and steadily to avoid damaging the design.
- Pay close attention to intricate details, ensuring they remain intact.
- Check your progress frequently to make sure you're removing only the unwanted vinyl.
Proper Alignment Tips
For achieving a professional and polished appearance when applying vinyl to your sign, guarantee proper alignment is meticulously executed. Start by using a brayer tool to smooth out the vinyl, preventing any pesky air bubbles that can ruin the finish.
Before committing to the final placement, check for proper centering and spacing of the vinyl design on the sign. If adjustments are needed, be sure to make them carefully to maintain straight lines and even spacing, resulting in a clean and crisp look.
Remember, taking your time during the alignment process is key to achieving a flawless custom appearance. By ensuring every detail is perfectly aligned, you can create a stunning home decor piece that looks like it was done by a professional.

HTVRONT Transfer Tape for Vinyl -12" x 16 FT w/Red Alignment Grid Transfer Paper, Medium Tack Vinyl Transfer Tape for Signs Stickers Decals Walls Doors & Windows
【MEDIUM TACK & CONSISTENT STICKINESS】Transfer tape for vinyl's medium tack ensures a perfect balance between strong adhesion and…
As an affiliate, we earn on qualifying purchases.
As an affiliate, we earn on qualifying purchases.
Personalizing the Sign

Incorporate personal touches into the design of your home decor sign to make it uniquely yours. Personalizing the sign allows you to infuse it with your own stories and themes, adding a special touch to your living space.
Consider selecting colors and thematic elements that resonate with your style and preferences, ensuring a personalized look that speaks to you. When applying vinyl to the wood sign, remember to center and align it properly for a polished and professional finish.
Adding brackets to the back of the sign makes it easy to hang, allowing you to proudly display your custom creation in your home. Embrace imperfections as part of the creative process, as they can bring character and charm to your handmade home decor.
Finalizing the Decor Piece
When finalizing the decor piece, make sure that all elements come together harmoniously to create a cohesive and visually appealing design. Start by adding brackets to the back of the sign for easy hanging on the wall. This simple addition can make a significant difference in how your decor piece is displayed.
Consider incorporating personal stories or themes into the design for a unique touch that reflects your personality and style.
Ensure proper centering and alignment of the vinyl on the wood sign for a polished look. Pay attention to details to achieve a professional finish. Remember, imperfections can add character to the decor piece, embracing them as part of the creative process.
Lastly, choose color choices and thematic elements carefully to enhance the overall aesthetic of the sign. These decisions can tie the whole piece together and elevate its visual impact.
Cost-Effective Solutions

When looking to save money on home decor, DIY projects with a Cricut machine offer a budget-friendly solution.
By using affordable materials like vinyl, paint, and wood signs, you can create personalized designs without breaking the bank.
Embracing imperfections in your creations can add charm and uniqueness to your decor while keeping costs low.
Budget-Friendly DIY Decor
Opt for cost-effective solutions when creating your own DIY home decor with Cricut, utilizing materials like vinyl, paint, and wood signs to keep expenses low.
To achieve budget-friendly DIY decor, consider the following:
- Explore thrift stores for inexpensive frames and furniture to upcycle with Cricut designs.
- Use removable vinyl decals to update your decor seasonally without breaking the bank.
- Repurpose old or mismatched items by adding personalized Cricut touches for a cohesive look.
- Create custom wall art using inexpensive canvases and paint to add a personal touch to your space.
- Transform plain throw pillows with Cricut-designed iron-on decals to elevate your living area inexpensively.
With these budget-friendly DIY decor ideas, you can enjoy the creative process of making personalized home decorations with Cricut while keeping costs down. For example, you can use a Cricut machine to create custom wall art, throw pillows, or decorative vinyl decals for your furniture. Additionally, Cricut home decor signs are a popular choice for adding a personal touch to your living space. The possibilities are endless when it comes to using Cricut for DIY home decor projects.
Embrace the imperfections and unique charm that come with crafting your own custom decor pieces.
Personalized, Low-Cost Designs
Explore how to create personalized, low-cost designs for your home decor using Cricut, maximizing affordability while adding unique touches to your space. DIY home decor with Cricut offers the opportunity to craft customized pieces using materials like vinyl and wood signs without breaking the bank.
By steering clear of pricey store-bought options, you can infuse your creations with distinct color choices and thematic elements that resonate with your style. Embrace the cost-effective creative journey of making personalized decor that sidesteps the need for expensive canvas prints.
Imperfections become part of the allure, enhancing the character and personal flair of your DIY home decor. Crafting your own pieces allows you to stay within a budget-friendly range while achieving a bespoke look that mirrors your unique taste and narratives.
Opting for personalized, low-cost designs with Cricut enables you to adorn your living spaces with a touch of individuality without straining your finances.
Additional Tips and Resources
Utilize online tutorials and communities for extra guidance and inspiration when creating home decor with Cricut, enhancing your skills and sparking creativity.
For additional tips and resources, consider the following:
- Explore different vinyl types, such as permanent, removable, or patterned, to achieve various effects in your projects.
- Consider adding embellishments like rhinestones, glitter, or fabric to enhance the custom look of your home decor.
- Experiment with different fonts, sizes, and designs to create unique and personalized pieces that reflect your style.
- Take advantage of Cricut Design Space features like templates, images, and fonts to streamline the design process for your home decor projects.
- Join online communities or attend local Cricut crafting events to connect with fellow crafters, learn new techniques, and gain inspiration for your projects.
Frequently Asked Questions
How Do I Make a Custom Image on Cricut?
To make a custom image on Cricut, create or upload your design in Cricut Design Space. Adjust its size and details, then cut the vinyl with your Cricut machine. Transfer the vinyl to your wood sign using transfer tape for precision.
Can Cricut Do Custom Designs?
With Cricut, you're the maestro of custom designs. Ignite your creativity by uploading or tweaking designs to transform ordinary into extraordinary. Let your imagination run wild; Cricut's got you covered!
Can You Design Your Own Pattern on Cricut?
Yes, you can design your own patterns on Cricut. Use the Design Space software to create custom designs, upload images, and personalize your projects. Experiment with colors, fonts, and shapes for a unique touch in your home decor.
Can I Draw My Own Design in Cricut Design Space?
You've got this! Immerse in Cricut Design Space, express your creativity, and draw your own designs. With a compatible machine and a variety of pen colors, personalize your home decor projects like a pro.
Conclusion
Now that you've learned how to make home decor with Cricut, you can create custom pieces that are as unique as a fingerprint.
With just a few materials and some creativity, you can turn any space into a personalized oasis.
So grab your Cricut and get crafting – your home decor dreams are just a cut away!