
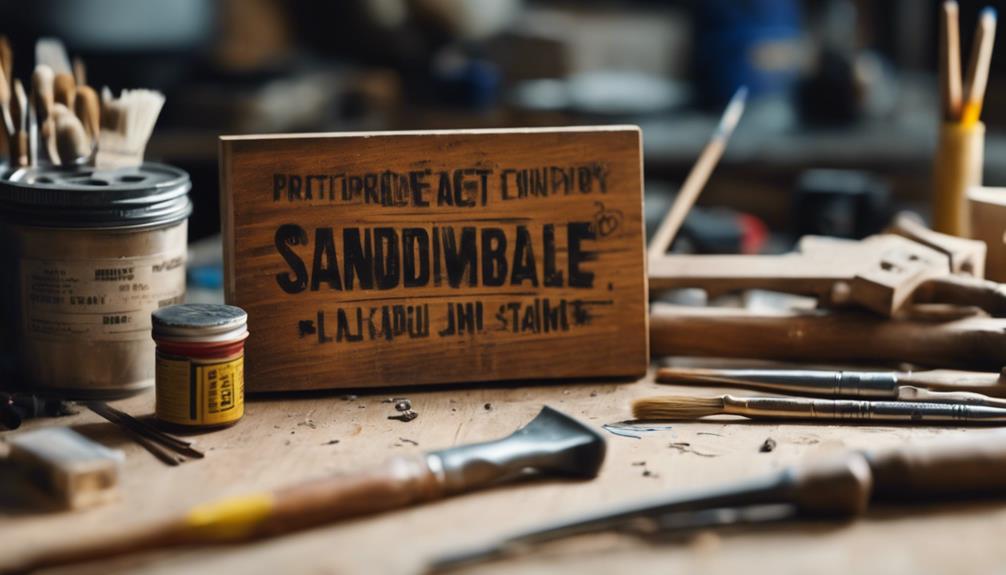
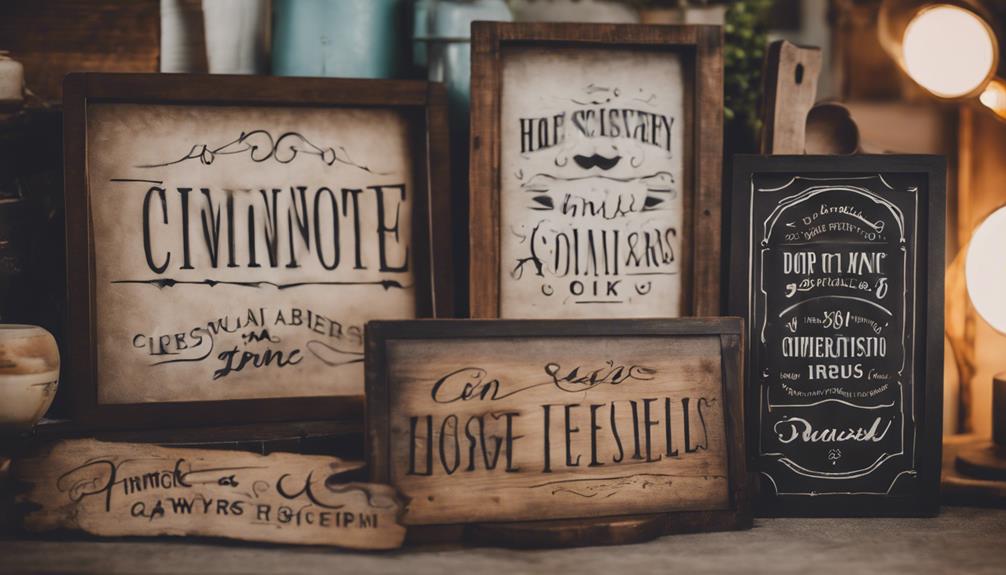
To create stunning home decor signs, begin by choosing high-quality wood and cutting it to the desired size. Select a stain that complements your personal style and securely assemble the sign. Choose the perfect quote, font, and colors that harmonize with your decor. Carefully trace and color the letters to ensure a neat finish. Use jute twine for hanging and seal the sign for durability. For more advice on sign-making techniques and design elements, refer to the additional information provided in the research. Develop your skills in crafting unique and attractive signs for your home decor! By incorporating these techniques and design elements, you’ll be on your way to establishing your own distinctive home decor style. Experiment with various textures, finishes, and decorations to make your signs truly stand out. Don’t hesitate to think creatively and add unique touches that reflect your individuality and taste. With some creativity and attention to detail, you can produce beautiful, one-of-a-kind signs that will elevate the look of your home. Consider integrating natural wood, metallic accents, or botanical motifs into your home decor signs for a special touch. You could also explore creating complementary home decor items such as custom wall hangings, picture frames, or decorative trays to complement your signs. By expanding your crafting and design abilities, you can develop a cohesive and fashionable collection of home decor pieces that will impress your guests. Experiment with a variety of materials and techniques to bring your creative vision to fruition and make your home decor truly unforgettable.
Key Takeaways
- Choose quality wood and stain for durability and style.
- Curate designs that harmonize with decor.
- Use precise vinyl cutting and weeding techniques.
- Add natural elements like greenery for a unique touch.
- Seal signs for longevity, especially when displayed outdoors.

Milescraft 2207 1.5in. & 2.5in. Arrow and Symbol Templates for Sign PRO & Sign Crafter Jig– Rout Custom Wood Signs with Additional Symbols – 26pcs.
Additional arrows and symbols allow for more customization of routed signs
As an affiliate, we earn on qualifying purchases.
As an affiliate, we earn on qualifying purchases.
Supplies and Preparation
To begin making your own farmhouse signs, gather the necessary supplies and prepare the materials for creating a rustic home decor piece. Start by selecting quality wood such as underlayment boards and trim.
Cut the wood to your desired sizes using appropriate tools like a saw. Once you have your wood pieces ready, it's time to enhance their rustic charm by staining them. Choose a stain that complements your style and apply it evenly using a brush or cloth.
After staining, assemble the base of your farmhouse sign by attaching the trim to the underlayment board. Use a nail gun or hammer to secure the pieces together firmly. This step is essential in ensuring your sign is sturdy and durable.

FSWCCK 24 Pieces Unfinished Hanging Wood Sign Blank with Ropes, Rectangle Blank Wood Sign Plain Hanging Craft Door Signs Wall Art Farmhouse Wooden Sign for Door Wall Art Decoration (3 Style)
Package Contents: You will receive 24 pieces unfinished hanging wood sign in 3 styles, a bundle of hemp…
As an affiliate, we earn on qualifying purchases.
As an affiliate, we earn on qualifying purchases.
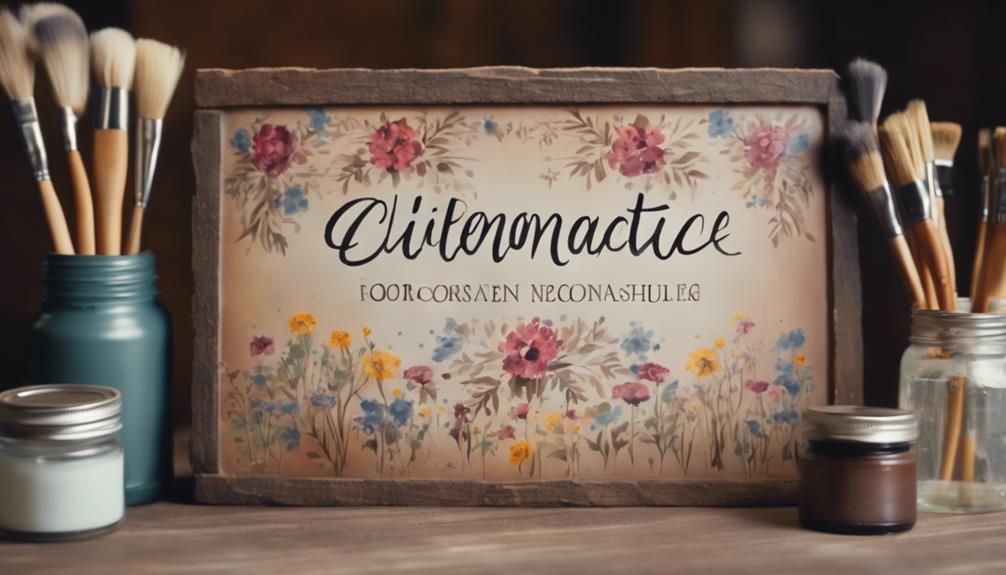
Design and Quote Selection

Selecting the right quote, font, color, and verse that align with your home decor style is crucial when designing your farmhouse sign. When working with DIY wood signs, it is vital to make sure that every element of your design harmonizes with the overall aesthetic you're aiming for. Look for inspiration in various sources like stores, online platforms, and social media to help you pinpoint the perfect quote and design elements. Once you have your quote and font selected, consider the color scheme that will best complement your space.
To guide your design process, here's a helpful table showcasing some popular font choices for DIY wood signs:
| Font Type | Style | Unique Features |
|---|---|---|
| Lemon Tuesday | Handwritten | Adds a personal touch |
| Times New Roman | Classic | Elegant and timeless |
| Arial | Modern | Clean and simple |
Taking the time to thoughtfully curate your design elements will result in a stunning farmhouse sign that perfectly complements your home decor.

VEVOR 28-inch Cutting Machine for Vinyl, Features LCD Screen, Dual Adjustable Spring Rollers for Sign Crafting, Includes Signmaster for Creative Design & Cutting
Efficient Digital Control: The max feed width: 28.3 in / 720 mm ; the max cutting width: 24.8…
As an affiliate, we earn on qualifying purchases.
As an affiliate, we earn on qualifying purchases.
Lettering and Coloring
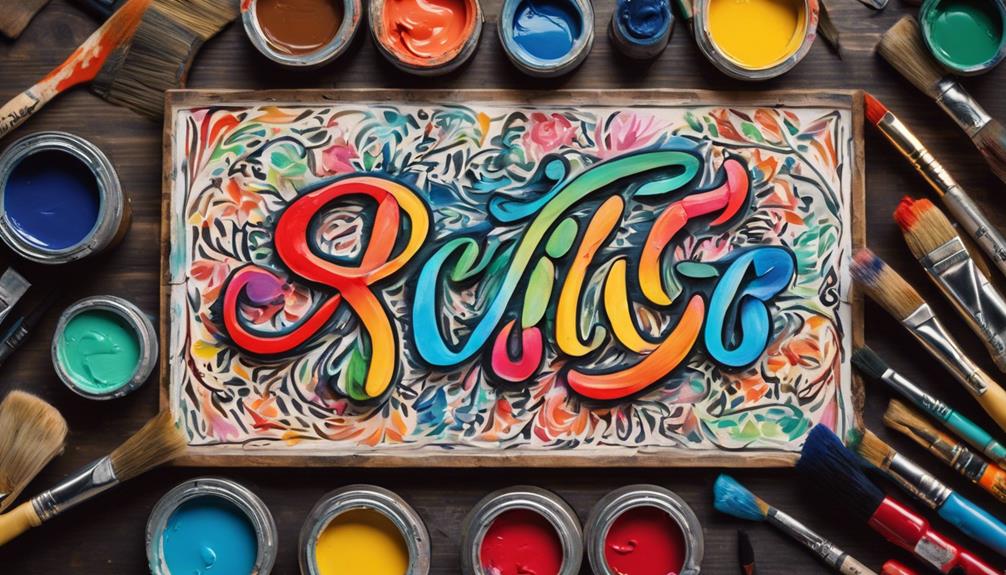
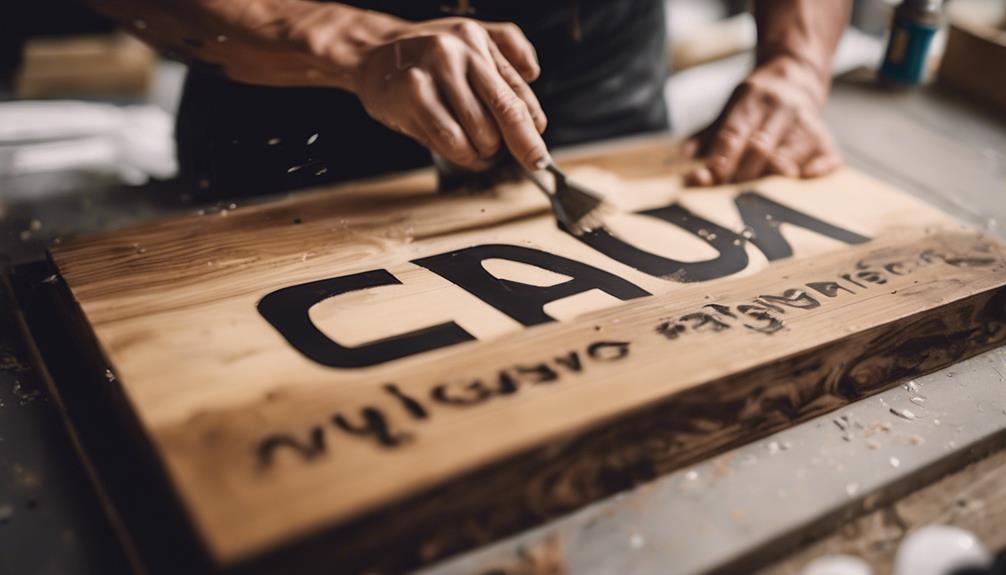
When creating your home decor sign, remember to trace the outline of your letters using a ballpoint pen for accuracy.
Then, color in the letters with a Sharpie marker to make them stand out. Adding detailed coloring with the Sharpie will give your sign a professional and polished look.
Trace and Outline Letters
Trace the contour of the letters on your wood sign using a ballpoint pen to create a guide for coloring in with a Sharpie marker. This initial step guarantees that your letters are neat and uniform before coloring.
By carefully tracing the letters, you establish a clear path for the Sharpie marker, making the coloring process smoother. Once the outlines are in place, fill them in with a Sharpie marker to add depth and definition to your lettering.
Using a Sharpie of your preference allows you to achieve a consistent and bold appearance throughout the sign. Detailed coloring with the Sharpie not only enhances the overall look of the words but also makes them stand out against the wood background.
This method of tracing and coloring the letters on wood signs is essential to achieving a professional and polished finish for your home decor.
Color With Sharpie
To enhance the visual appeal of your DIY farmhouse sign, begin by skillfully coloring in the outlined letters with a Sharpie marker. Before you start coloring, make certain to trace the outlined letters on the wood sign using a ballpoint pen for precision. This step will help guide your coloring process and guarantee clean lines.
Once you have traced the letters, use the Sharpie marker to fill them in with your chosen colors. The enhanced details in coloring with a Sharpie marker can really elevate the overall look of the words on your sign.
If you want to add an extra touch to your farmhouse sign, consider using a wood stain before coloring with the Sharpie marker. This can give your sign a rustic and weathered look, adding depth to the colors you use. Experiment with different wood stains to find the one that complements your chosen color palette best.
Detailed Marker Enhancements
For precise detailing and enhanced visual appeal, utilize a ballpoint pen to trace the outline of the letters on your wood sign. Once you have the outlines, proceed to color them in with a Sharpie marker to bring out the intricacies of the quote or design. Detailed coloring with the Sharpie marker not only enhances the look but also adds a personalized touch to your DIY farmhouse wood sign. Experiment with different Sharpie marker colors to create a visually appealing contrast on your sign. This process of lettering and coloring with markers can truly elevate the overall aesthetic of your large wall decor.
| Marker Enhancements | Benefits |
|---|---|
| Precise outlining | Enhances visual appeal |
| Detailed coloring | Brings out intricacies of the design |
| Personalized touch | Adds uniqueness to your wood sign |
| Color contrast | Creates a visually appealing look |

Garden Box Sealer | FDA Food Contact Safe Plant-Based Wood Sealant for Raised Bed, Planter & Pet House. Protects All Wood Types from Water & Weather Damage |
GARDEN BED WOOD SEALER – For Use On Cedar And All Wood Types Used In Raised Bed Gardens….
As an affiliate, we earn on qualifying purchases.
As an affiliate, we earn on qualifying purchases.
Hanging and Longevity

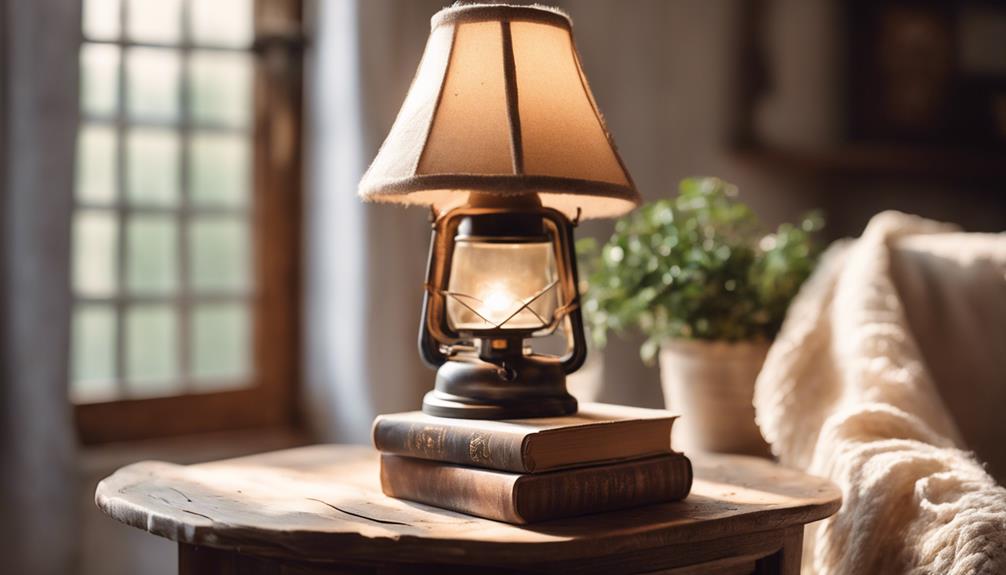
Consider using jute twine and wooden beads to hang up your finished DIY farmhouse wood signs for a rustic touch and added charm. Large wooden signs are perfect for rooms with 14-foot ceilings, serving as a striking focal point. These signs have proven to be durable, staying in great condition even after 2 years of display.
DIY sign templates are readily available for creating large wood signs with various quotes and designs, making it easy to personalize your wall art. To ensure longevity, especially if you plan to place your sign outside, consider sealing it to protect it from the elements.
Additional Projects
Explore a variety of DIY projects like Scroll Signs, Faux Subway Tile Fireplace Makeovers, No Sew Curtains, and Large Wall Calendars for creative ways to enhance your home decor. These projects offer a unique touch to your living space and allow you to showcase your creativity. To get started, consider visiting your local craft store for supplies such as wood for signs, paint, and decorative elements.
Craft stores offer a wide range of materials that can be used in these projects, from stencils to vinyl lettering. For Scroll Signs, you might need transparency film for inkjet printers to transfer your designs onto the wood.
Faux Subway Tile Fireplace Makeovers could benefit from Page Plus for large letter printing to create a realistic tile effect.
No Sew Curtains can be easily made using fabric from the craft store, along with simple techniques like iron-on adhesive tape.
Large Wall Calendars can be customized with Rasterbator for tiled version printing, allowing you to create a personalized and functional piece for your home. Let your imagination run wild and have fun crafting these beautiful additions to your decor!
Materials Used
Acrylic paint, vinyl, transfer tape, squeegee tools, wood, and various decorative elements are key materials used in creating home decor signs.
When crafting your own home decor signs, remember to have these essential materials on hand:
- Vinyl Cutting Tools: Tools like Cricut design space and pin pen tools are vital for achieving precise and intricate designs on your home decor signs.
- Painter's Tape: Utilize painter's tape along with grid lines to prevent color bleeding during the painting process on wood signs, ensuring clean and sharp edges for your design.
- Embellishment Supplies: Jute twine, wooden beads, staple guns, and hot glue guns play a significant role in hanging and embellishing your home decor signs, adding that extra touch of charm and character to your creations.
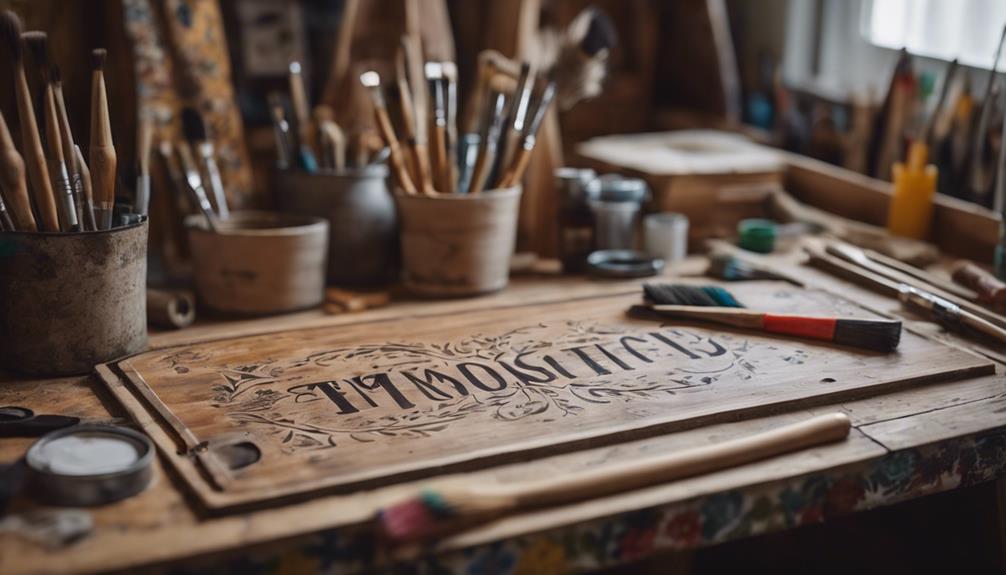
Wood Sign Painting Process
For a polished finish on your wood sign, start by applying a thin base coat of white acrylic paint. This base coat will help your colors stand out and provide a smooth surface for painting.
Once the white base coat is dry, layer multiple thin coats of black acrylic paint onto the sign. Be certain to allow each layer to dry thoroughly before applying the next to achieve a flawless finish that enhances your home decor.
To create clean lines and prevent colors from bleeding, use a squeegee tool and painter's tape during the painting process. These tools will help you achieve sharp, professional-looking edges on your wood sign.
After painting, consider designing and cutting vinyl decals using Cricut Design Space for intricate designs. Guarantee precise measurements for a polished look that will elevate your home decor.
Vinyl Cutting and Weeding
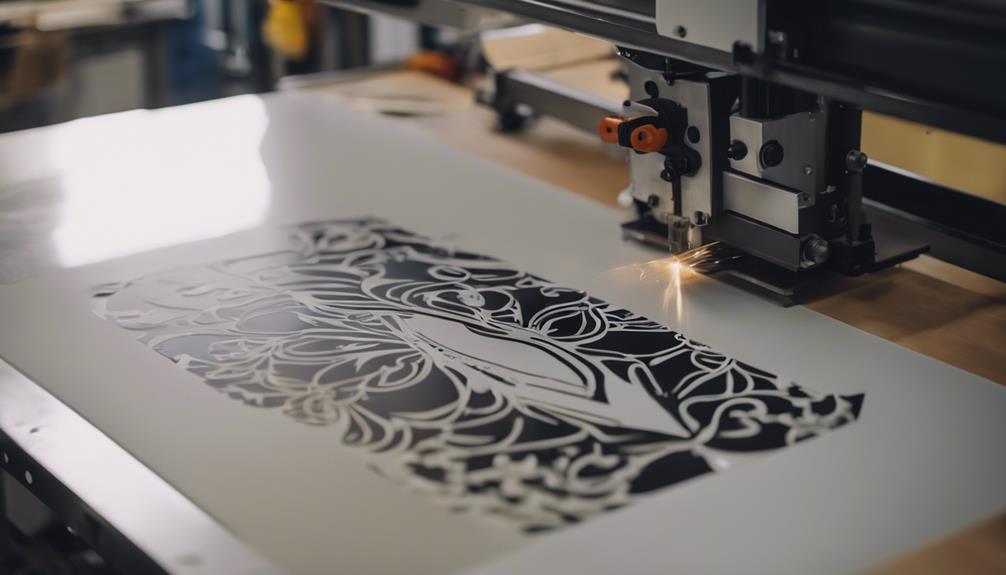
When cutting vinyl, guarantee accuracy by trimming according to your design with precise measurements.
Opt for premium vinyl texture and a Cricut machine for clean edges.
Use a pin pen tool to easily weed out excess vinyl, especially for intricate designs.
Vinyl Cutting Techniques
To accomplish precision in vinyl cutting and weeding, make certain you trim the vinyl according to the design for accurate alignment on the substrate.
When working on home decor signs for your living room, follow these vinyl cutting techniques for impressive results:
- Use Premium Textured Metallic Vinyl: Opt for high-quality textured metallic vinyl to add a unique and eye-catching finish to your crafting projects in the living area.
- Weed Out Excess Vinyl with Precision: Utilize a pin pen tool to weed out unwanted parts of the vinyl meticulously, revealing the intricate design without damaging the rest of the material.
- Smooth Application with Squeegee Tool: Secure the vinyl onto transfer tape using a squeegee tool to guarantee a smooth and bubble-free application onto the desired surface, enhancing the overall look of your home decor signs.
Weeding Process Tips
Consider employing a sharp weeding tool for precise vinyl removal during the weeding process, ensuring clean and intricate designs on your home decor signs.
To begin, trim the vinyl according to the design to guarantee accurate placement on the wood sign. Opt for premium vinyl textured metallic for cutting on Cricut Design Space to achieve a professional finish.
When weeding out excess vinyl, a pin pen tool works wonders, particularly for intricate designs and lettering.
Remember to adhere the vinyl onto the transfer tape using a squeegee tool to prevent bubbles during application. For impressive results, utilize Tech wrap Craft transfer tape to smoothly transfer the vinyl onto the wood sign.
Transfer Tape Usage
Using transfer tape correctly plays a vital role in guaranteeing precise vinyl cutting and weeding for your home decor signs. To make the most of transfer tape in your home improvement projects, follow these key tips:
- Accurate Transfer:
Transfer tape is essential for precisely moving vinyl designs from their backing paper onto your desired surface, preserving the intricate details of your design intact during the process.
- Smooth Application:
Utilize a squeegee tool when applying transfer tape to ensure a seamless and bubble-free transfer, providing a professional-looking finish to your home decor signs.
- Easy Repositioning:
Transfer tape allows for simple repositioning of vinyl designs before final adhesion, preventing errors and enabling you to achieve the perfect layout without any hassle.
Final Design Touches
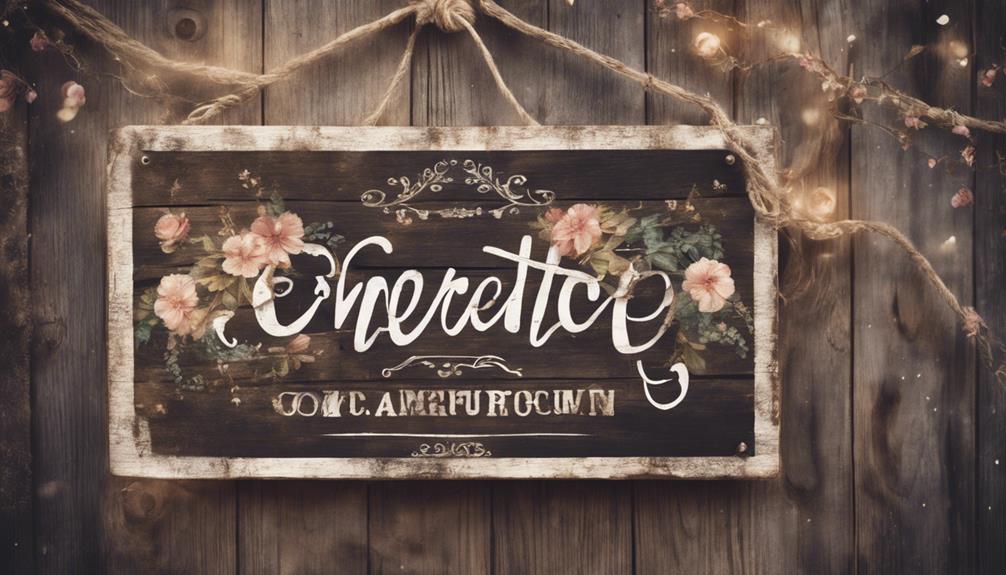
Add a touch of natural greenery to your wood sign using a staple gun and hot glue gun for a fresh and inviting design element.
Make sure to customize your sign further by attaching a bow with velcro, allowing for easy interchangeability as seasons change or to suit different occasions.
For a rustic hanging option that complements the farmhouse style, ponder using jute twine and wooden beads. Secure the greenery and create a hanging loop with a staple gun to guarantee a durable finish that will last.
If you plan to place your sign outside, it's imperative to ponder sealing it to protect it from the elements and ensure its longevity.
Conclusion and Recommendations
To enhance the overall appeal and longevity of your wood sign, sealing it when placed outside is highly recommended. Here are the next steps to contemplate for your sign-making journey:
- Utilize Textured Vinyl:
For a unique and eye-catching finish, explore using textured vinyl like the one from Tech Wrap Craft. This can add depth and interest to your sign, making it stand out even more.
- Add Decorative Elements:
Personalize your wood sign by incorporating greenery, bows, or other decorative elements. These additions can give your sign a bespoke touch that reflects your style and personality.
- Choose Hanging Accessories:
Opt for jute twine and wooden beads to hang your sign. This rustic and charming combination not only complements the natural look of wood but also adds a touch of warmth to your decor.
Frequently Asked Questions
How Do You Make a Professional Looking Sign?
To make a professional-looking sign, choose a high-quality font like 'Lemon Tuesday' for a polished finish. Use a Sharpie marker for precise lettering. Consider underlayment boards and trim for sturdiness. Opt for a stain or paint that complements the design. Confirm proper hanging and sealing.
How Do You Make a Sign Look Distressed?
To make a sign look distressed, lightly sand the edges and surface. Use a dry brush technique with darker paint for depth. Apply crackle medium between coats for a cracked appearance. Highlight with wax or glaze for a vintage look.
How to Make Homemade Signs?
To make homemade signs, gather supplies and choose a design. Personalize with vinyl cutting and painting. Add decorative elements for flair. Seal for outdoor display. Your creativity will shine through in your professional-looking sign that impresses all who see it.
How to Make Large Farmhouse Signs?
To make large farmhouse signs, gather supplies like underlayment boards, trim, stain, paint, and a black Sharpie marker. Cut and stain the boards, choose a design, transfer it onto the wood, trace with a pen, and color with the marker for a bold finish.
Conclusion
Now that you've learned the basics of sign making, why not put your skills to the test and create a stunning piece of home decor?
With the right supplies and a creative mindset, the possibilities are endless.
So go ahead, awaken your inner artist and see what beautiful signs you can bring to life!