Creating personalized wall art is an enjoyable way to showcase your unique style. Begin with fundamental techniques such as color washing and different brush strokes to help gain confidence. For those feeling bold, experiment with mixed media to incorporate additional texture. As you advance, consider trying intermediate approaches like glazing to add depth and dry brushing for highlights. Push yourself further with advanced methods like layering and stippling to enhance your artistry. Choose high-quality materials for long-lasting results and utilize a mood board to plan out your design. Through continuous exploration, you will unlock endless possibilities to manifest your artistic vision with every stroke.
Key Takeaways
- Beginners can start with basic techniques like color washes and contour lines to build confidence and skill in painting.
- Intermediate artists should explore glazing and dry brushing for added depth and texture in their custom wall art.
- Advanced techniques, such as mixed media and layering, allow for unique textures and complex compositions that elevate artwork.
- Using mood boards and sketching initial ideas aids in defining purpose and enhancing creativity throughout the design process.
- Proper display techniques, including height placement and spacing, ensure the artwork engages viewers effectively and enhances the overall aesthetic.

TMOL Acrylic Paint Set, 24 Colors (2 oz/Bottle) with 12 Art Brushes, Art Supplies for Painting Canvas, Wood, Ceramic & Fabric, Rich Pigments Lasting Quality for Beginners, Students & Professional Artist
ALL INCLUSIVE PAINT SET: Unleash your creativity from beginner to professional level with this fun and educational acrylic…
As an affiliate, we earn on qualifying purchases.
As an affiliate, we earn on qualifying purchases.
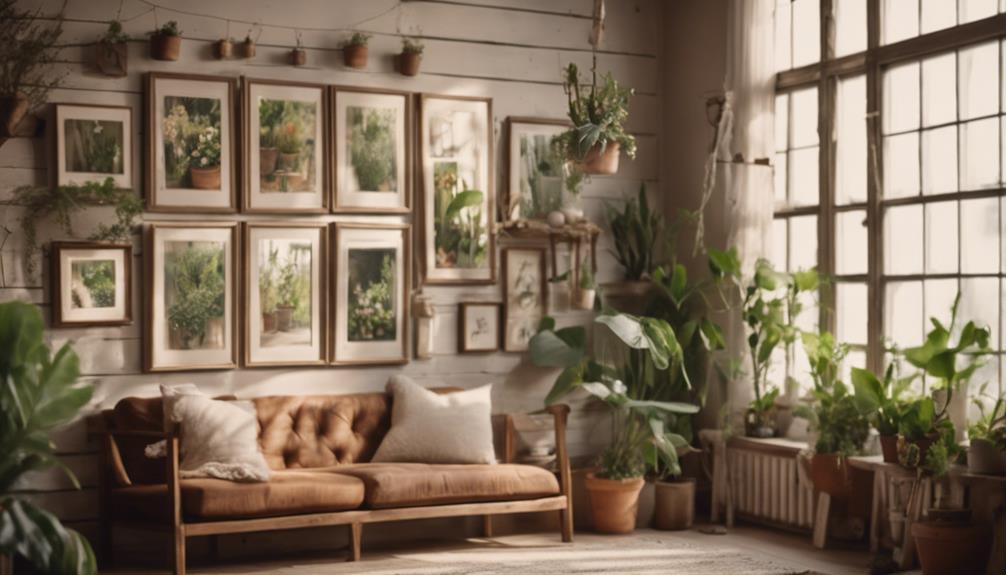
Understanding Custom Wall Art
Custom wall art is a fantastic way to showcase your personal style and creativity. By creating unique pieces, you can reflect your tastes and preferences, making your space feel truly yours.
The beauty of custom wall art lies in its versatility; you can choose materials and techniques that resonate with you, whether it's painting, drawing, or mixed media. For instance, exploring the emotional depth of stains can add a unique layer to your artwork, transforming imperfections into enchanting visuals.
As you immerse yourself in the world of custom wall art, consider how focused studies and repetition can enhance your skills. This approach allows you to refine your techniques, ultimately leading to more sellable and visually appealing artworks.
Look to the masters of history who mastered repetition in their craft—this can inspire you to develop a distinctive style that sets your custom wall art apart.
Don't forget the wealth of online resources and communities available to you. These platforms offer lessons, feedback, and support, making it easier than ever to learn and improve your skills.
Embrace this opportunity, and watch your confidence grow as you create stunning custom wall art that speaks to your individuality.

COLOUR BLOCK 151-Piece Professional Art Supply Set with Mixed Media, Paint Kit & Brushes in Aluminum Case, Complete Art Supplies for Adults, All Level Artists, Travel Art Set
Diverse Art Supplies: Includes 24 colored pencils, 10 watercolor pencils, 12 acrylic paints tubes, 12 watercolor paints tubes,…
As an affiliate, we earn on qualifying purchases.
As an affiliate, we earn on qualifying purchases.
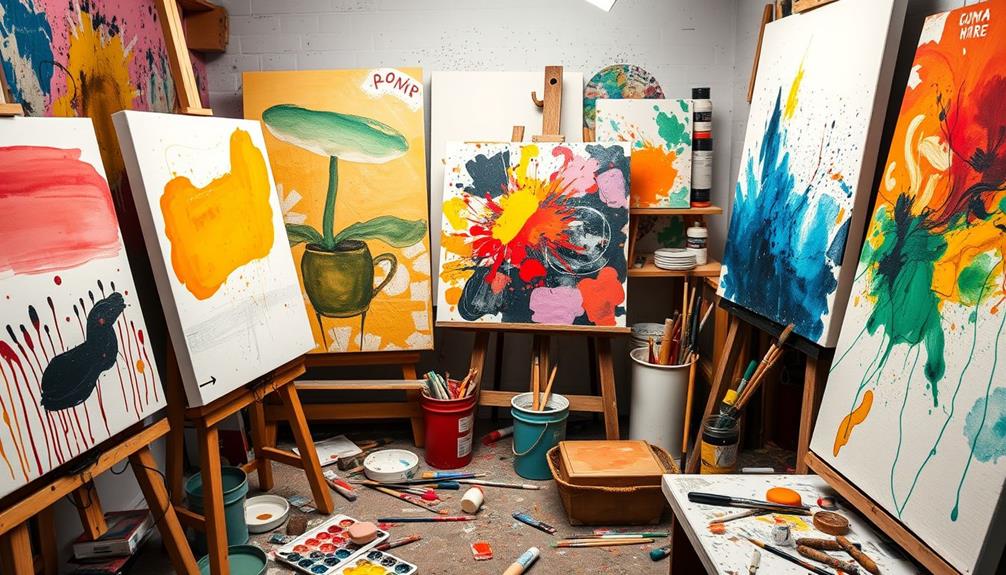
Techniques for Beginners
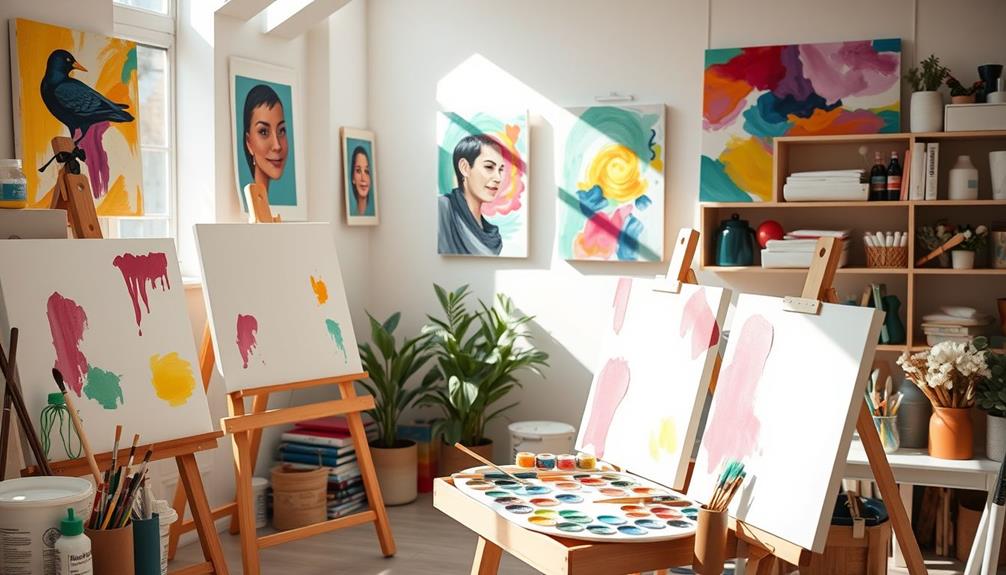
While diving into the world of custom wall art, you'll find that mastering basic techniques is essential for building your confidence and skills. Start with simple techniques for beginners, like color washes and basic brush strokes. These will help you become comfortable with watercolor or acrylic paints. As you gain more experience with basic techniques, you can start experimenting with more advanced methods such as layering and creating texture. This will allow you to create more complex and intricate designs for your custom wall art. If you’re looking for inspiration, consider exploring living room color ideas to help guide your creative process and make your wall art match the decor of your home.
Understanding the emotional connection that can be expressed through art can also enhance your creative process, much like how cats show affection with their unique behaviors, such as recognizing their owner's voice.
To achieve accurate scaling and proportions, try the grid method when transferring your designs to canvas. This technique can greatly improve your accuracy. Additionally, don't shy away from exploring mixed media; incorporating pastels or collage items can add texture and depth to your artwork.
Practicing basic drawing skills, such as contour lines and shapes, lays a strong foundation for any custom wall art project. Remember to experiment with layering techniques, allowing adequate drying time between layers to prevent smudging. This will enable you to create more complex compositions without frustration.
As you explore these techniques for beginners, take your time and enjoy the process. Each stroke and layer contributes to your growth as an artist, so embrace the journey and let your creativity shine!

Hapikalor Watercolor Paper Pad, 9"x12" Water Color Paper, 140lb/300gsm Artist Painting Drawing Paper Book, Art Supplies for Adults Kids, Watercolors, Watercolor Paint Set, Sketchbook, Journal, Teal
【Premium Heavyweight Cold Pressed Watercolor Paper】1Pack of 9" x 12" Professional Heavyweight Watercolor Pads. 20 sheets in each…
As an affiliate, we earn on qualifying purchases.
As an affiliate, we earn on qualifying purchases.
Intermediate Painting Methods
Exploring intermediate painting methods opens up a world of creativity and sophistication in your artwork. By delving into techniques like glazing and dry brushing, you can elevate your paintings to new heights.
These methods can also provide a sense of security in your artistic investments, similar to how converting a 401k to a Gold IRA can offer diversification and protection against market volatility potential tax advantages associated with IRA accounts.
Here are some methods to evaluate:
- Glazing: Apply transparent layers of paint to create depth and luminosity, enhancing the visual impact of your piece.
- Dry Brushing: Use a dry brush with minimal paint to add texture and highlight details, perfect for realistic landscapes and objects.
- Mixed Media: Combine acrylics with pastels or collage elements to explore new dimensions and effects in your artwork.
Additionally, using masking fluid allows you to preserve specific areas of your canvas. This technique enables you to paint around these sections, creating intricate designs while maintaining the brightness of the underlying surface.
Understanding color theory is equally essential; employing complementary color schemes can make your compositions more vibrant and harmonious.
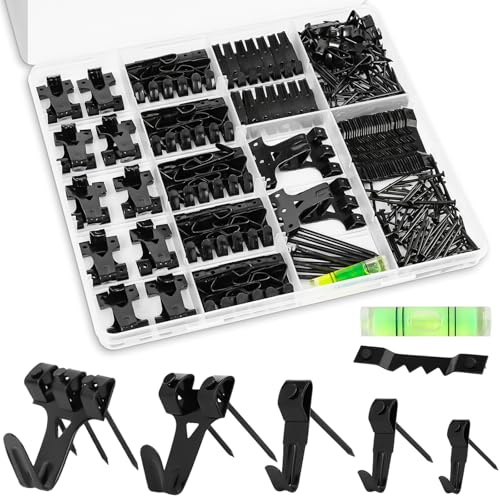
KURUI Picture Hangers, 385Pcs Picture Hanging Kit with Heavy Duty Picture Hanging Hooks, Sawtooth, Hardware Nails and Picture Hanging Tool, Wall Hangers for Frame, Painting, Art, Photo (Black)
EFFORTLESS ORGANIZATION: Our 385pcs Heavy Duty Picture Hanging Kit boasts an exceptional design with categorized compartments, saving you…
As an affiliate, we earn on qualifying purchases.
As an affiliate, we earn on qualifying purchases.
Advanced Artistic Approaches
Building on the foundation of intermediate painting methods, advanced artistic approaches invite you to push the boundaries of your creativity even further. One effective way to do this is by experimenting with mixed media techniques. Combining materials like acrylics, watercolors, and pastels allows you to achieve unique textures and effects in your wall art.
Additionally, incorporating vital oils for relaxation, such as lavender and chamomile, can create a calming atmosphere that enhances your creative process vital oils for relaxation.
Layering techniques are fundamental for creating depth in your artwork. Let each layer dry before adding another to build complexity and guarantee a rich visual experience. Mastering masking fluid can also enhance your compositions, preserving areas of the canvas for intricate designs and sharp contrasts.
Incorporating advanced brush techniques, such as dry brushing and stippling, adds dimension and interest to your pieces. Don't shy away from exploring different methods for applying paint.
Additionally, understanding color theory and composition principles is important. It'll help you create harmonious and visually compelling artwork, much like the masterpieces of historical figures such as Claude Monet and Winslow Homer.
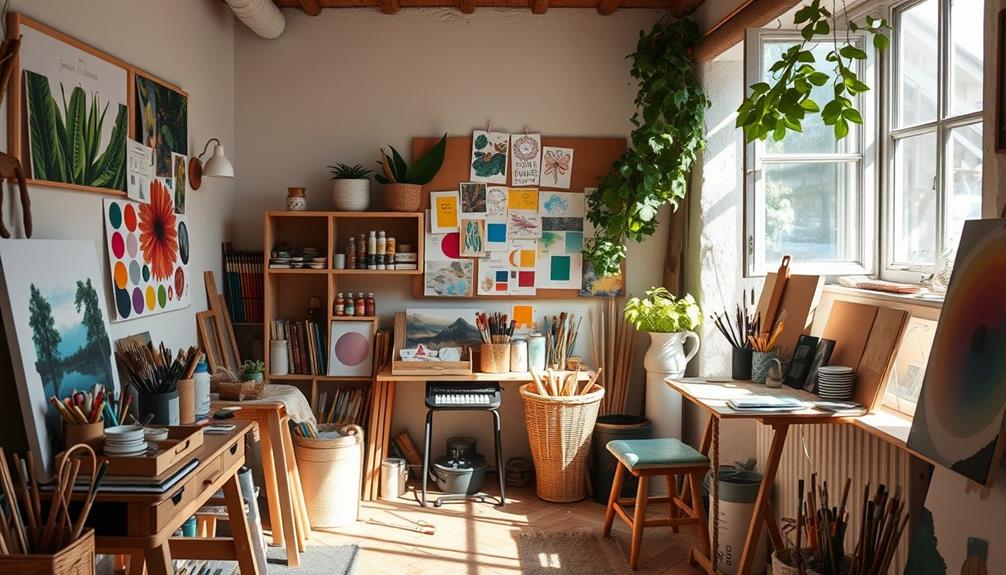
Material Selection and Preparation
Selecting the right materials is crucial for creating stunning custom wall art. Start by focusing on high-quality surfaces like stretched canvas or wood panels. These options guarantee durability and a professional finish, setting the stage for your masterpiece.
Additionally, consider incorporating elements that can enhance the ambiance of your artwork, such as candle lighting techniques to create a warm atmosphere in the display area.
Consider the following when making your material selection:
- Paint Types: Choose vibrant acrylics for bold colors or rich oils for depth and texture.
- Tools: Gather brushes of various sizes, palette knives for added texture, and sponges for unique effects.
- Additional Materials: Incorporate stencils, markers, or collage items to spark creativity and introduce mixed media elements.
Proper preparation of your materials is essential. Applying a base coat to your surface not only enhances adherence but also contributes to an even finish. This step helps to create a smooth canvas for your artistic expression.
Design Planning and Sketching
To kick off your design planning, start by defining the purpose and theme of your wall art; this will help create a cohesive aesthetic.
Consider incorporating elements inspired by Modern Farmhouse Decor Trends, such as earthy tones or natural materials, to enhance your artistic vision.
Next, put together a mood board filled with photos, color swatches, and other inspirations that reflect your vision.
This visual guide will steer your creativity as you begin sketching your ideas.
Purpose and Theme Definition
When commencing your journey to create custom wall art, defining the purpose and theme is vital for guiding your design process. Start by considering what message or emotion you want your artwork to convey. This clarity will influence your choices and help you stay focused. Additionally, think about how your artwork can reflect your personal style, similar to how modern farmhouse aesthetics emphasize cozy and inviting elements.
Next, establish a cohesive theme. Research various design styles and current trends to guarantee your collection feels unified and purposeful. Think about:
- The vibrant hues of abstract art that evoke energy and excitement
- The calming tones of nature-inspired pieces that bring a sense of tranquility
- The bold patterns of contemporary designs that make a striking statement
Also, don't forget to determine the size and placement of your artwork. Consider how it interacts with your wall space and surrounding decor to create a balanced display.
Setting a budget for materials is essential too; choose high-quality supplies that align with your artistic vision and desired outcome.
Mood Board Creation
Creating a mood board is an essential step in the design planning process for your custom wall art, as it helps solidify your artistic vision. Start by gathering images, colors, textures, and materials that inspire you. Incorporating elements from various crafting techniques, like those found in crochet styles for locs, can enhance your mood board's creativity.
This mood board creation serves as a visual reference, guiding your overall design concept. You can use digital tools like Pinterest or Canva to compile and arrange visuals, or opt for a physical board with magazine clippings, fabric swatches, and paint samples for a more tactile experience.
Focus on a cohesive color palette to unify different elements within your design. This guarantees that the selected artworks harmonize well when displayed together. As you arrange your visuals, sketch initial ideas based on the mood board, exploring various compositions and layouts. This experimentation allows you to determine the most effective arrangement for your artwork.
Don't hesitate to experiment with different styles and themes on your mood board. Trying out diverse ideas and techniques can spark creativity and lead to unexpected combinations that elevate your final wall art design.
Embrace this process, and you'll find it considerably enhances your artistic journey.
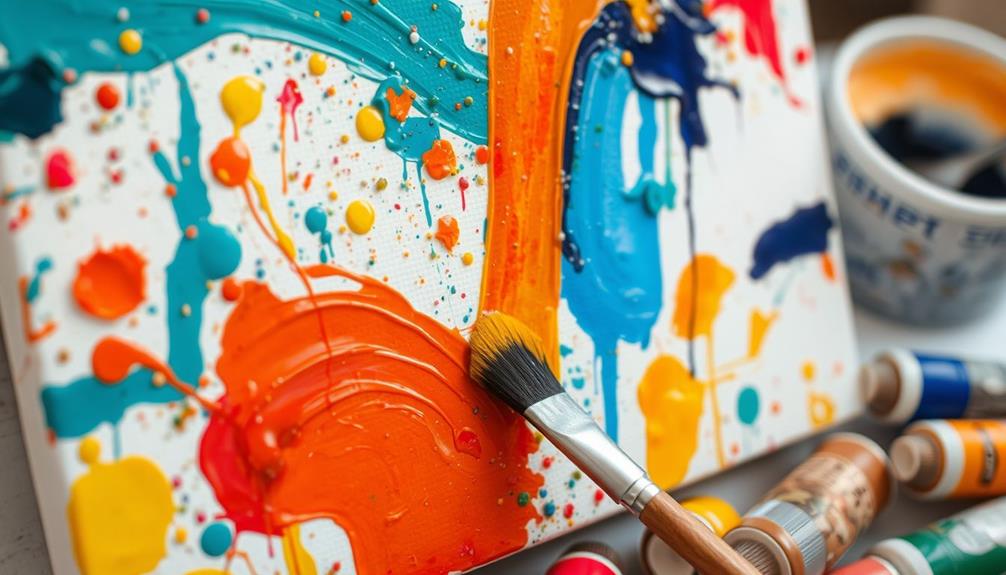
Painting Techniques to Explore
There's a world of painting techniques waiting for you to explore, each offering unique opportunities to enhance your custom wall art.
Whether you're a beginner or more experienced, these methods can transform your canvas into a mesmerizing masterpiece. Experimenting with different styles can be akin to how espresso extraction techniques influence the flavor of your coffee, allowing you to find the perfect approach for your artistic expression.
- Dry brushing: This technique lets you create textured effects by applying a small amount of paint to a dry brush.
- Layering: Build complexity in your artwork by adding layers of paint, allowing each one to dry completely before proceeding to avoid smudging.
- Mixed media: Combine different materials like charcoal, pastels, or collage items for depth and diverse visual effects.
Don't forget to try resist painting, where you use masking fluid to protect specific areas of your canvas, allowing for intricate designs and highlights.
Additionally, color blending techniques in oil or acrylic painting can help you achieve smooth shifts and dynamic visuals.
Adding Finishing Touches

Finishing touches can make all the difference in your custom wall art, elevating it from a simple creation to a striking focal point. Here are some effective ways to enhance your artwork:
| Technique | Purpose | Benefits |
|---|---|---|
| Protective Coating | Protects from environmental factors | Increases longevity of the artwork |
| Framing | Provides a polished look | Elevates the overall presentation |
| Ideal Lighting | Enhances visual appeal | Highlights specific features of the artwork |
| Documenting | Tracks artistic progress | Engages a broader audience on social media |
Adding a protective coating, like varnish or sealant, not only preserves your piece but also adds depth to colors. Framing your artwork can greatly enhance its presentation, giving it a refined finish. Don't underestimate the power of ideal lighting; the right placement can transform how your artwork is perceived, drawing attention to its best features. Finally, document your finished artwork for portfolio purposes or social media sharing. This not only allows you to track your progress but also connects you with others who appreciate your creativity. These finishing touches are essential to showcasing your artistic vision!
Displaying Your Artwork
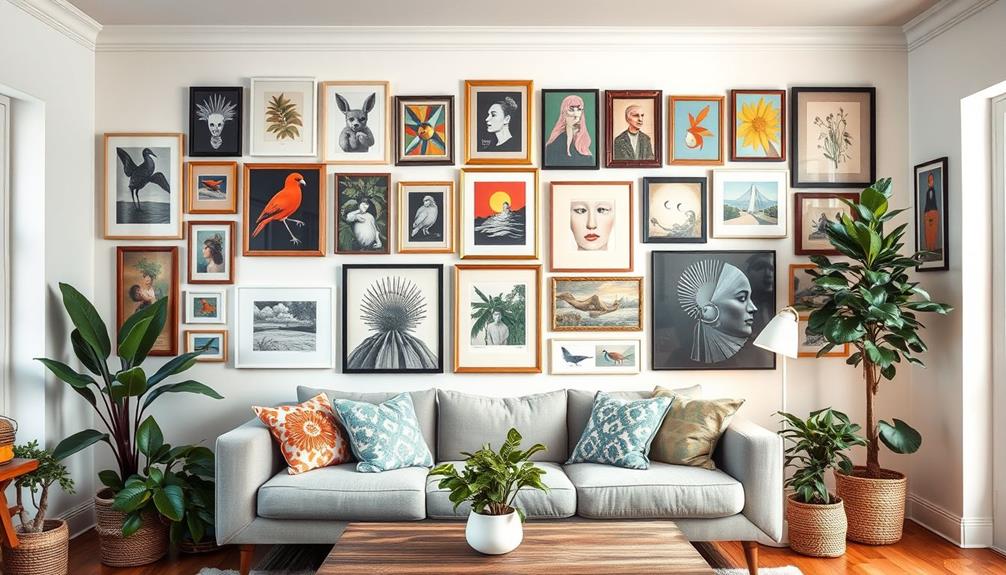
Displaying Your Artwork
How can you make your artwork truly stand out when displaying it? The way you showcase your wall art can transform your space and captivate your guests. Here are some tips to enhance the visual appeal of your pieces: Consider incorporating unique wall art that adds character and personality to your display.
- Hang at the right height: Aim for 57-60 inches from the ground to guarantee ideal viewing comfort.
- Use varied hanging methods: Picture hooks or gallery wall systems can accommodate the diverse sizes and weights of your artwork effectively.
- Maintain proper spacing: Leave 2-4 inches between pieces to prevent overcrowding and let each artwork breathe.
Also, consider the surrounding decor and lighting. Proper lighting can highlight the colors and details in your pieces, making them more engaging.
Before you commit to a final arrangement, experiment with different layouts on the floor or digitally. This allows you to find the most visually pleasing composition, balancing size and medium diversity.
Finding Inspiration and Resources
Inspiration is the heartbeat of your creative journey, driving you to explore new ideas and techniques for custom wall art.
Start by diving into the vast world of free resources—over 4,000 video art lessons are available online, catering to all skill levels. These tutorials can ignite your creativity and provide essential techniques.
Next, check out online marketplaces like Etsy and Society6. These platforms not only showcase unique artworks but also connect you with independent artists, giving you fresh perspectives for your projects.
Don't forget to visit local art fairs or thrift stores; you might stumble upon diverse pieces that spark new ideas or enhance your collection.
To support your artistic endeavors, consider retailers like Jerry's Artarama, which offer curated art supplies and personalized service.
Keeping an eye on ongoing promotions can help you stock up on materials without breaking the bank.
Frequently Asked Questions
How Do You Develop a Level Art Ideas?
To develop art ideas, start by defining your theme and purpose. Gather inspiration through research, sketch concepts, and play with colors. Consider size and placement, ensuring it complements your space while staying within your budget.
How Can You Strengthen Your Artistic Skills and Techniques in Creating an Artwork?
To strengthen your artistic skills, don't just practice; analyze your progress. Experiment with new materials, study the masters, and seek feedback. Embrace repetition, and you'll find your techniques evolving into something truly remarkable.
What Are the 7 Elements of Art?
The seven elements of art are line, shape, form, space, color, value, and texture. Each element influences your artwork's composition and emotional impact, helping you express your creativity and communicate effectively through visual means.
How Do You Develop Unique Art Styles?
To develop your unique art style, experiment with various mediums, embrace diverse influences, and keep a sketchbook for ideas. Engage with peers for feedback and regularly study foundational techniques to refine your artistic voice.
Conclusion
Creating custom wall art is a rewarding journey that lets you express your unique style. No matter your skill level, there's a technique waiting for you to explore. So, why not plunge into your creativity and see where it takes you? With the right materials and a bit of practice, your walls can transform into a gallery of personal expression. Embrace your artistic side, and watch your vision come to life on canvas!